Benchmark Abrasives Grinder Rack
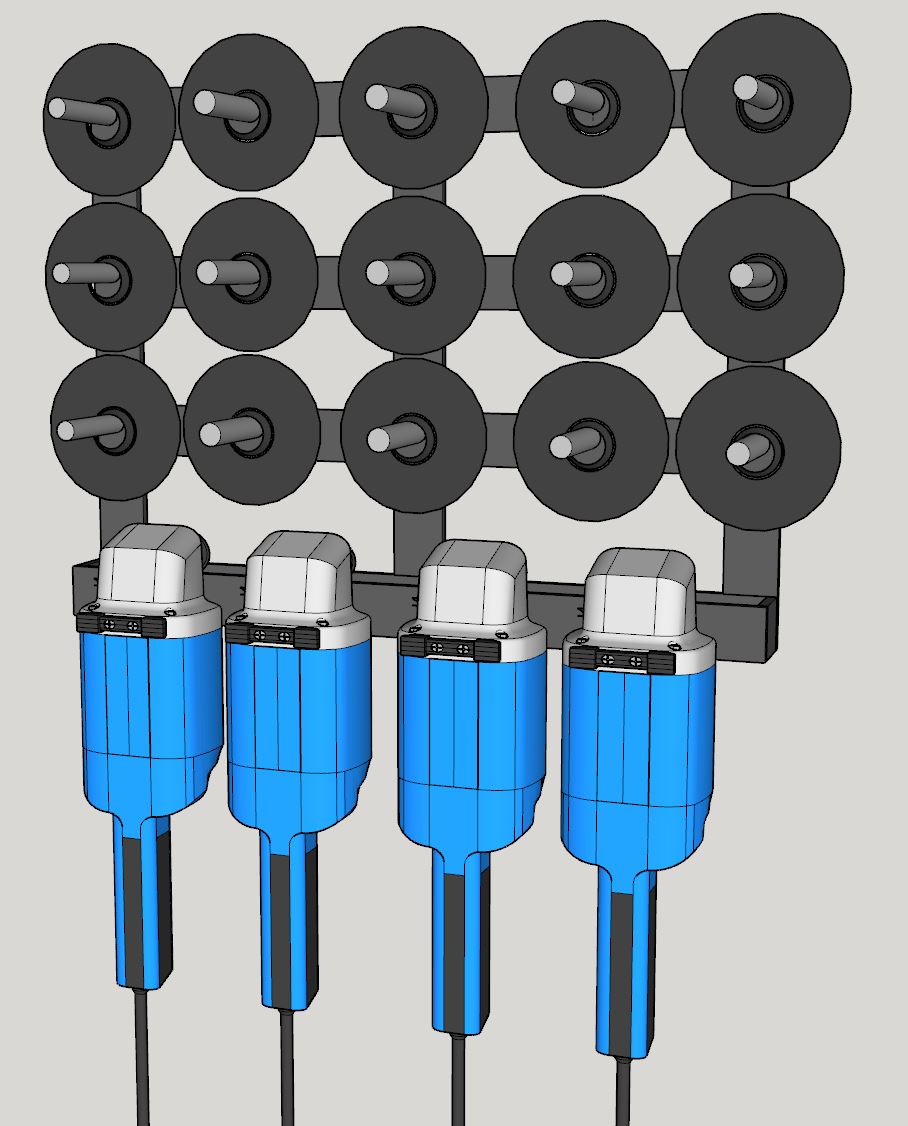
After the plasma water table build, I decided to rethink where I keep my tools. Especially my grinders and discs. I had a lot of fun building the plasma water table, but things would have went a lot smoother with more tool organization. It seems this is my nemesis lately. Shop tool organization makes all the difference in the world with efficiency and workflow. So I will start with my grinders and later I will make a metal clamp rack. As usual, I used the free version of Sketchup to visualize what I wanted to make. The final concept looked something like this.
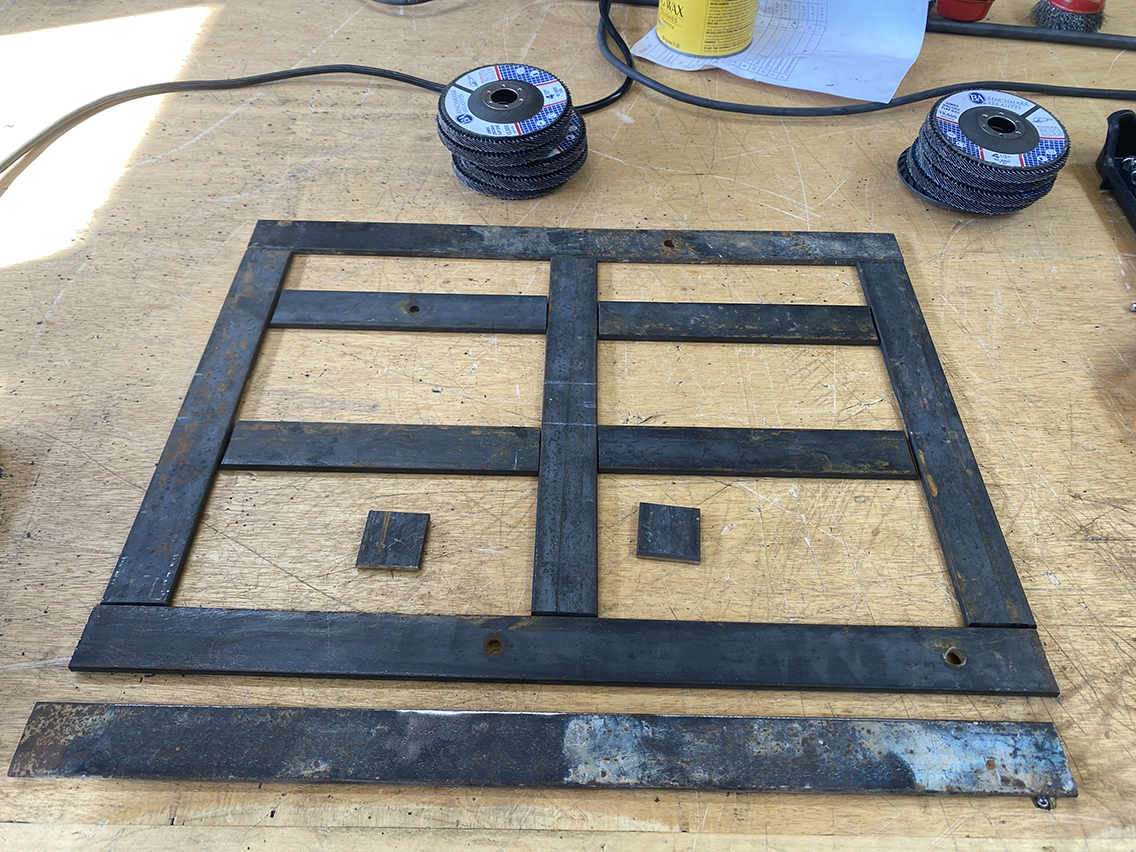
I started out taking inventory of the metal I had on hand. Believe it or not, I found three good pieces of 1 1/2″ x 1/4″ flat bar in the trash near a construction site.
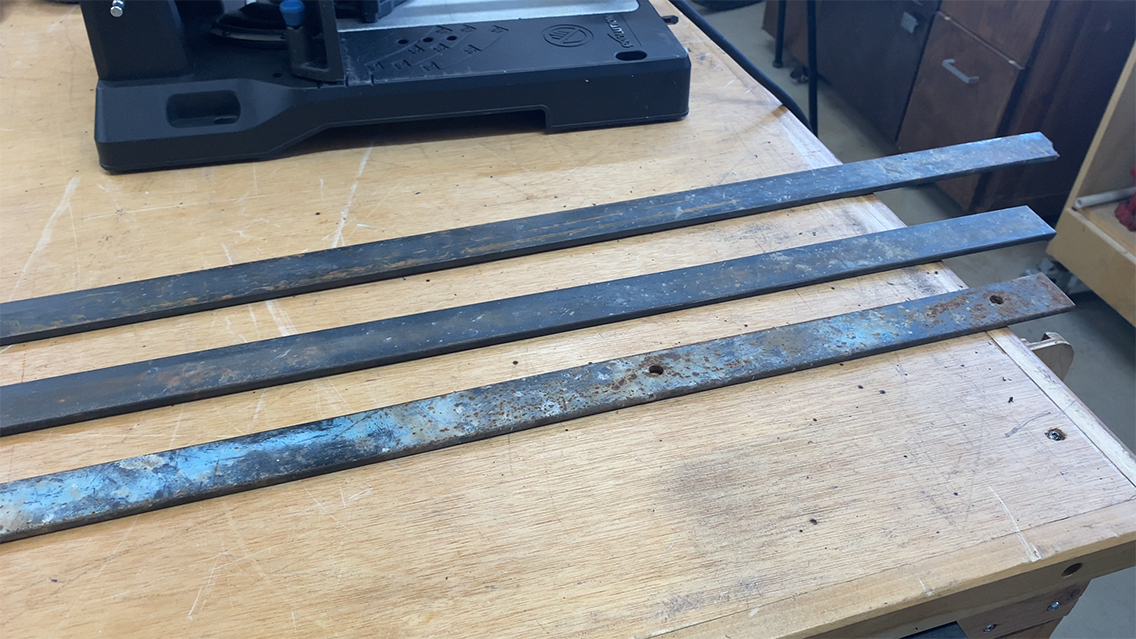
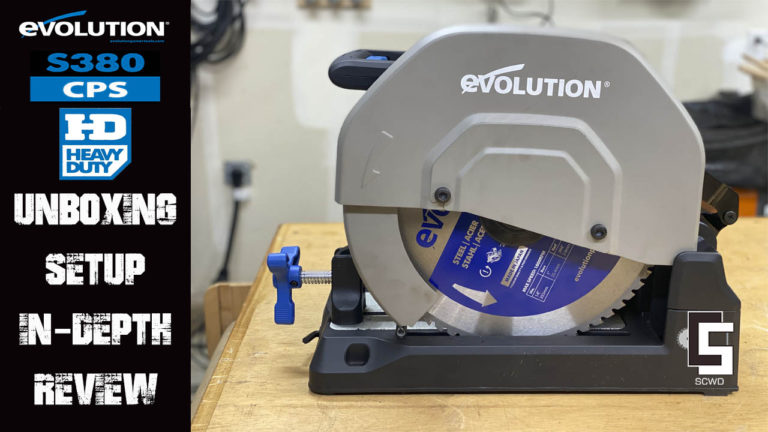
I fired up the Evolution S380-CPS and cut all my pieces to size. I then took them over to my Hercules bench grinder and grinded a 45° bevel on each piece to get a good weld. I laid the pieces out to get a good visualization of what I was trying to do. I also put the grinder discs to make sure I had my measurements correct.
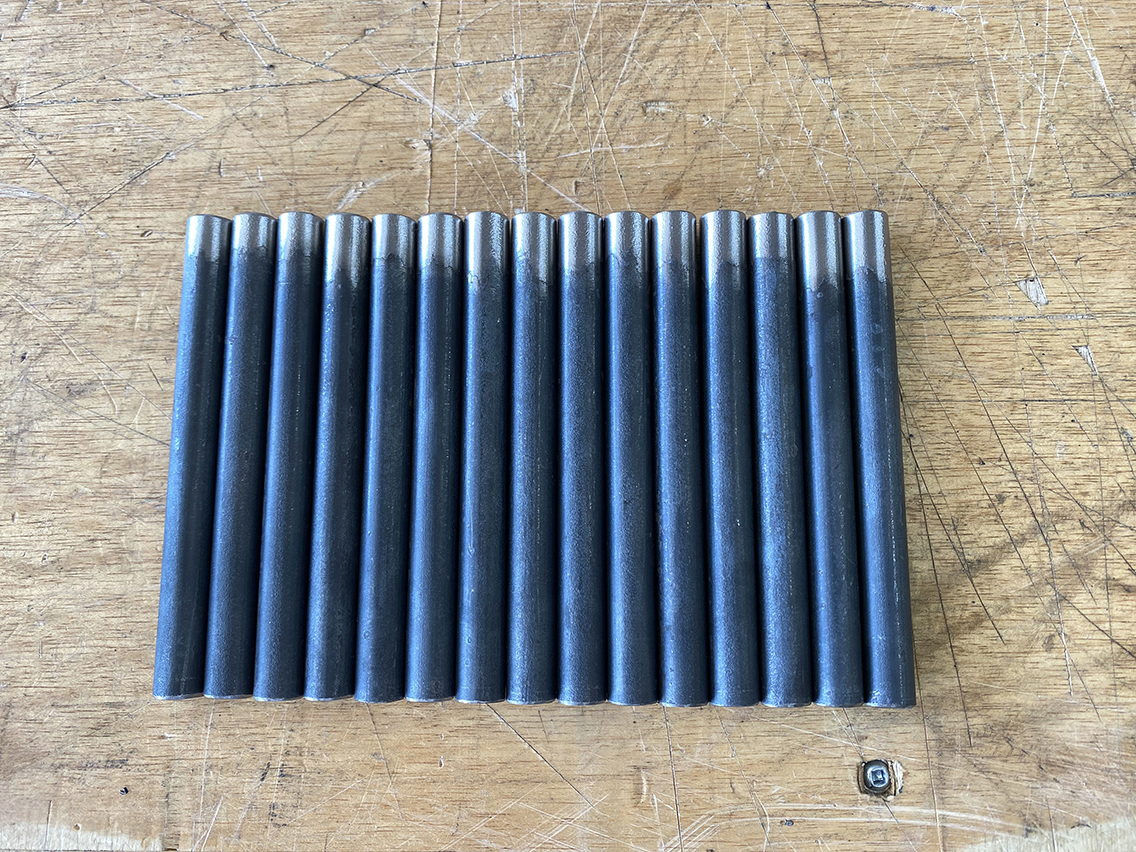
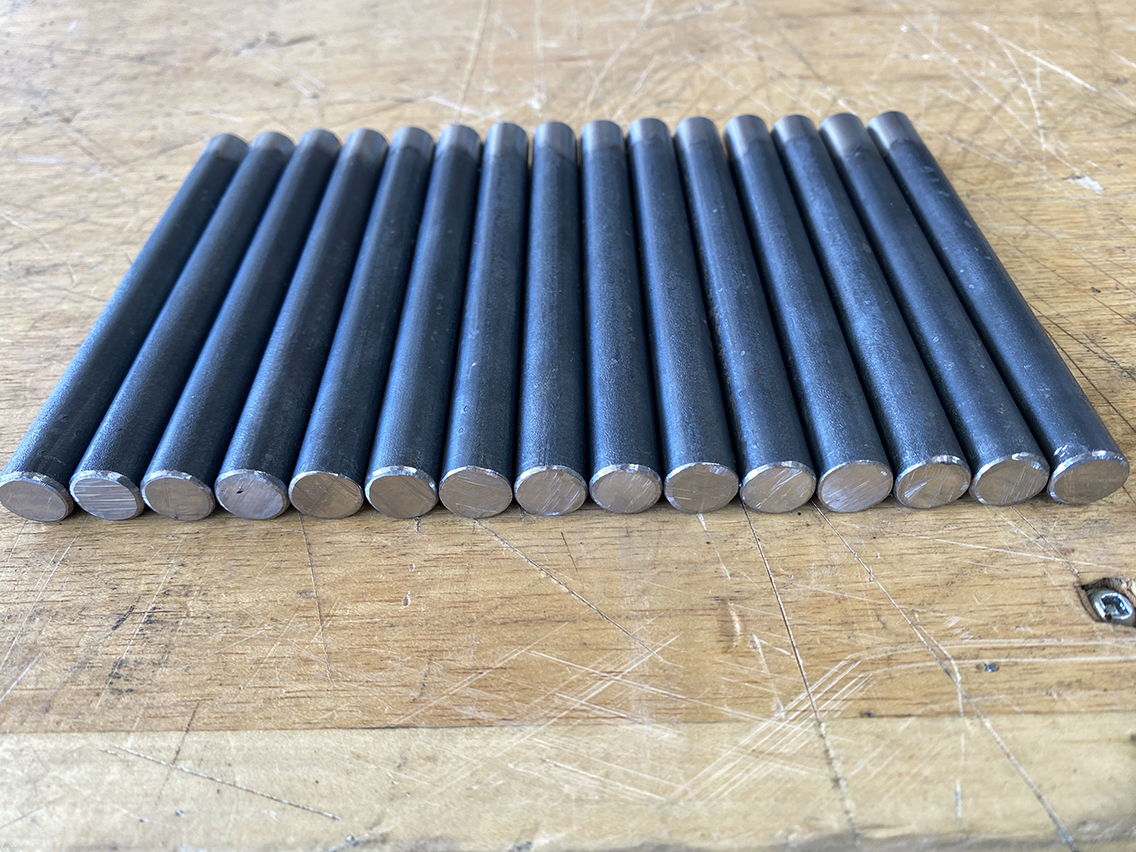
I also used the Evolution to cut the 1/2″ round stock that I got from a local metal shop. I was going to do 3″ pegs, but did some measurements and decided on 5″ instead. using my Hercules bench grinder, I chamfered the ends and wire brushed the other sides to prep for welding.
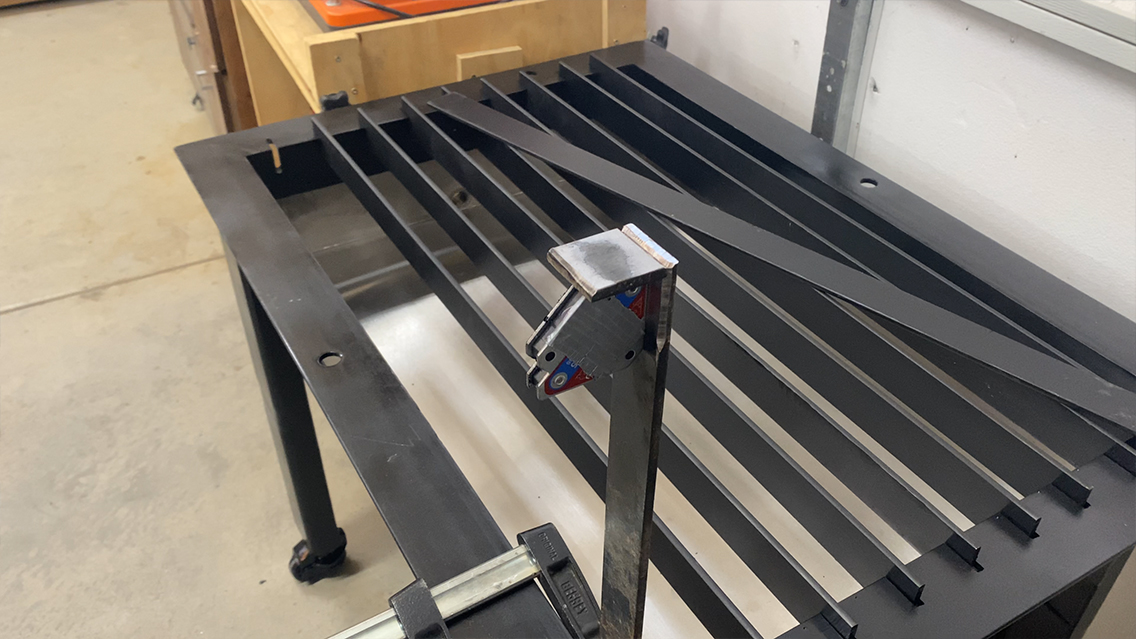
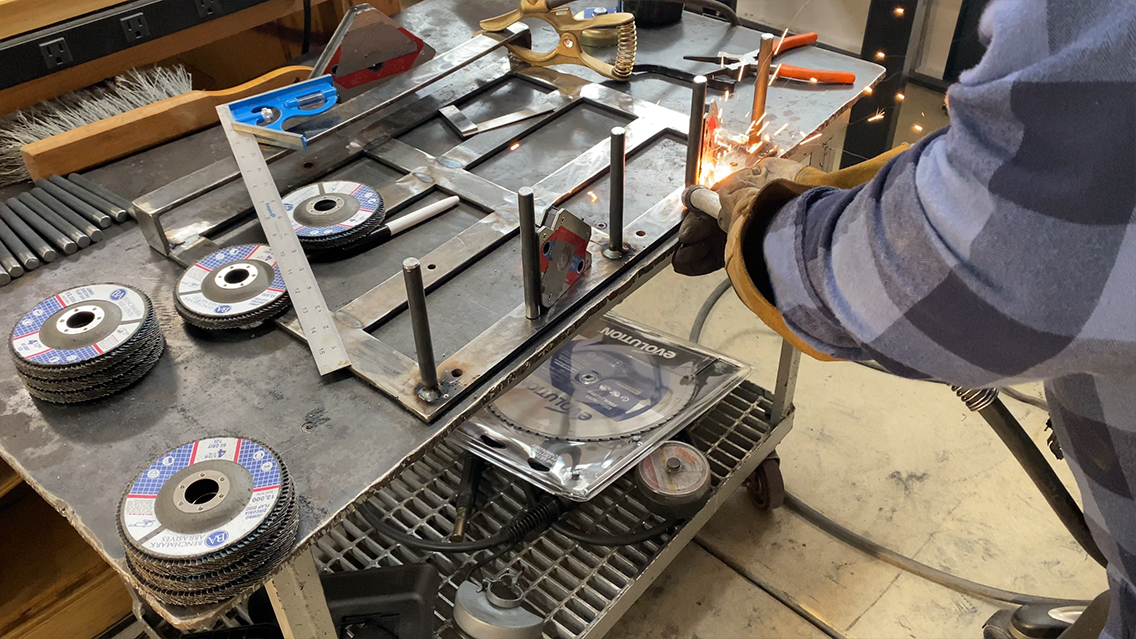
After cutting and prepping for welding, I fired up my Hobart IronMan 230 and used my plasma water table to vertically clamp the rack base piece. For the base I will start on the lower grinder holder rack.
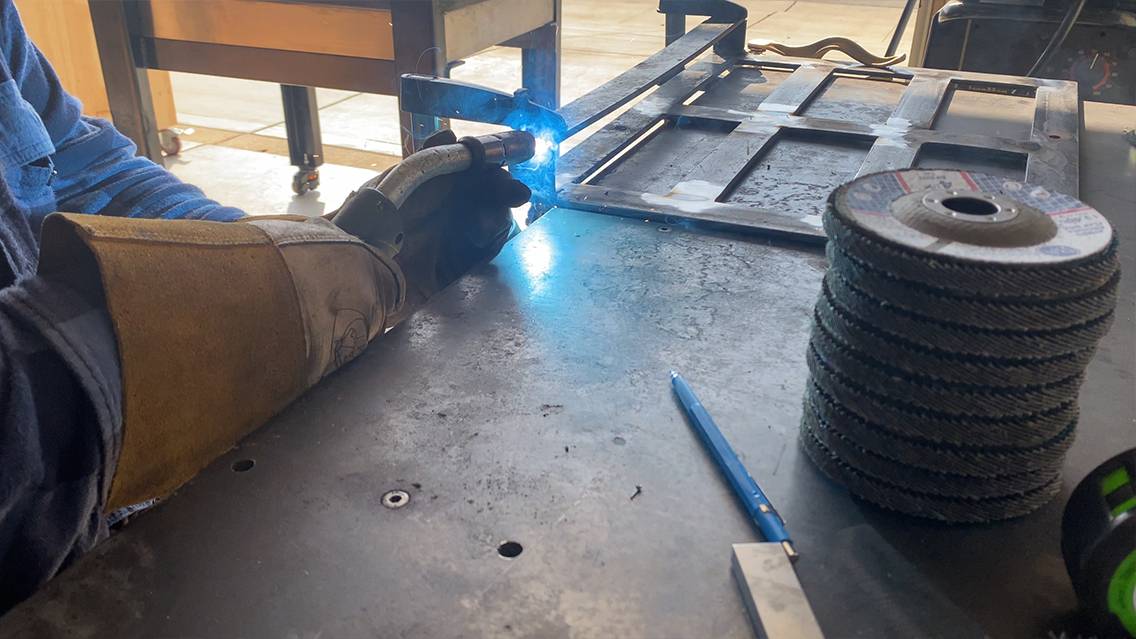
I welded each end piece from the outside and inside.
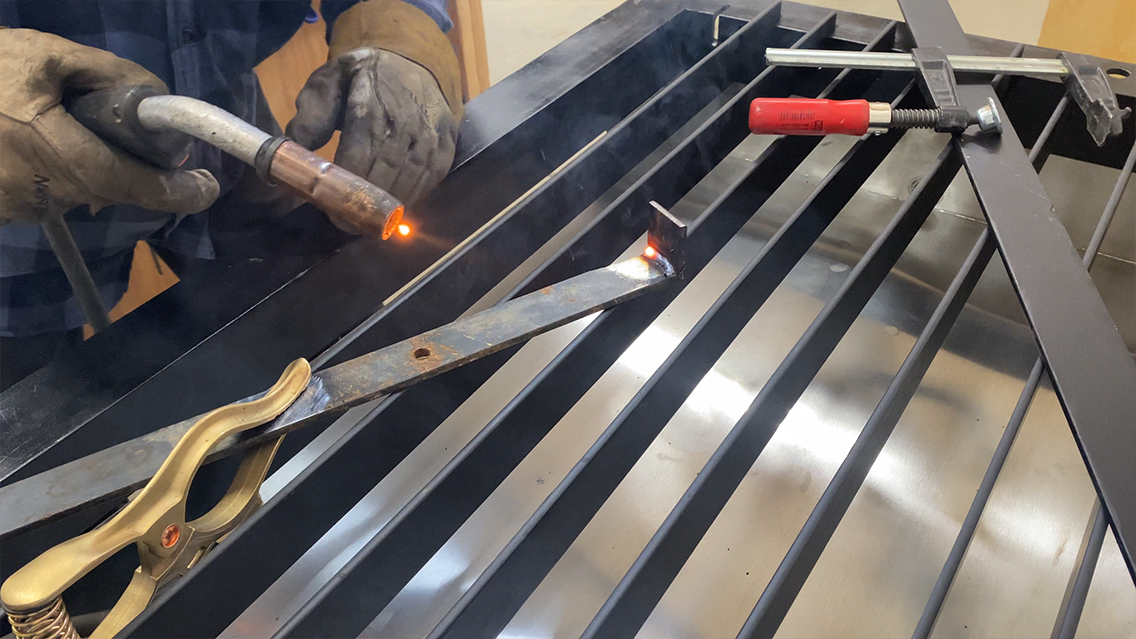
Then I laid that on my welding table and used a square and some clamps to start the frame assembly. After getting the left side square, I ran a bead down the 45° grove I made.
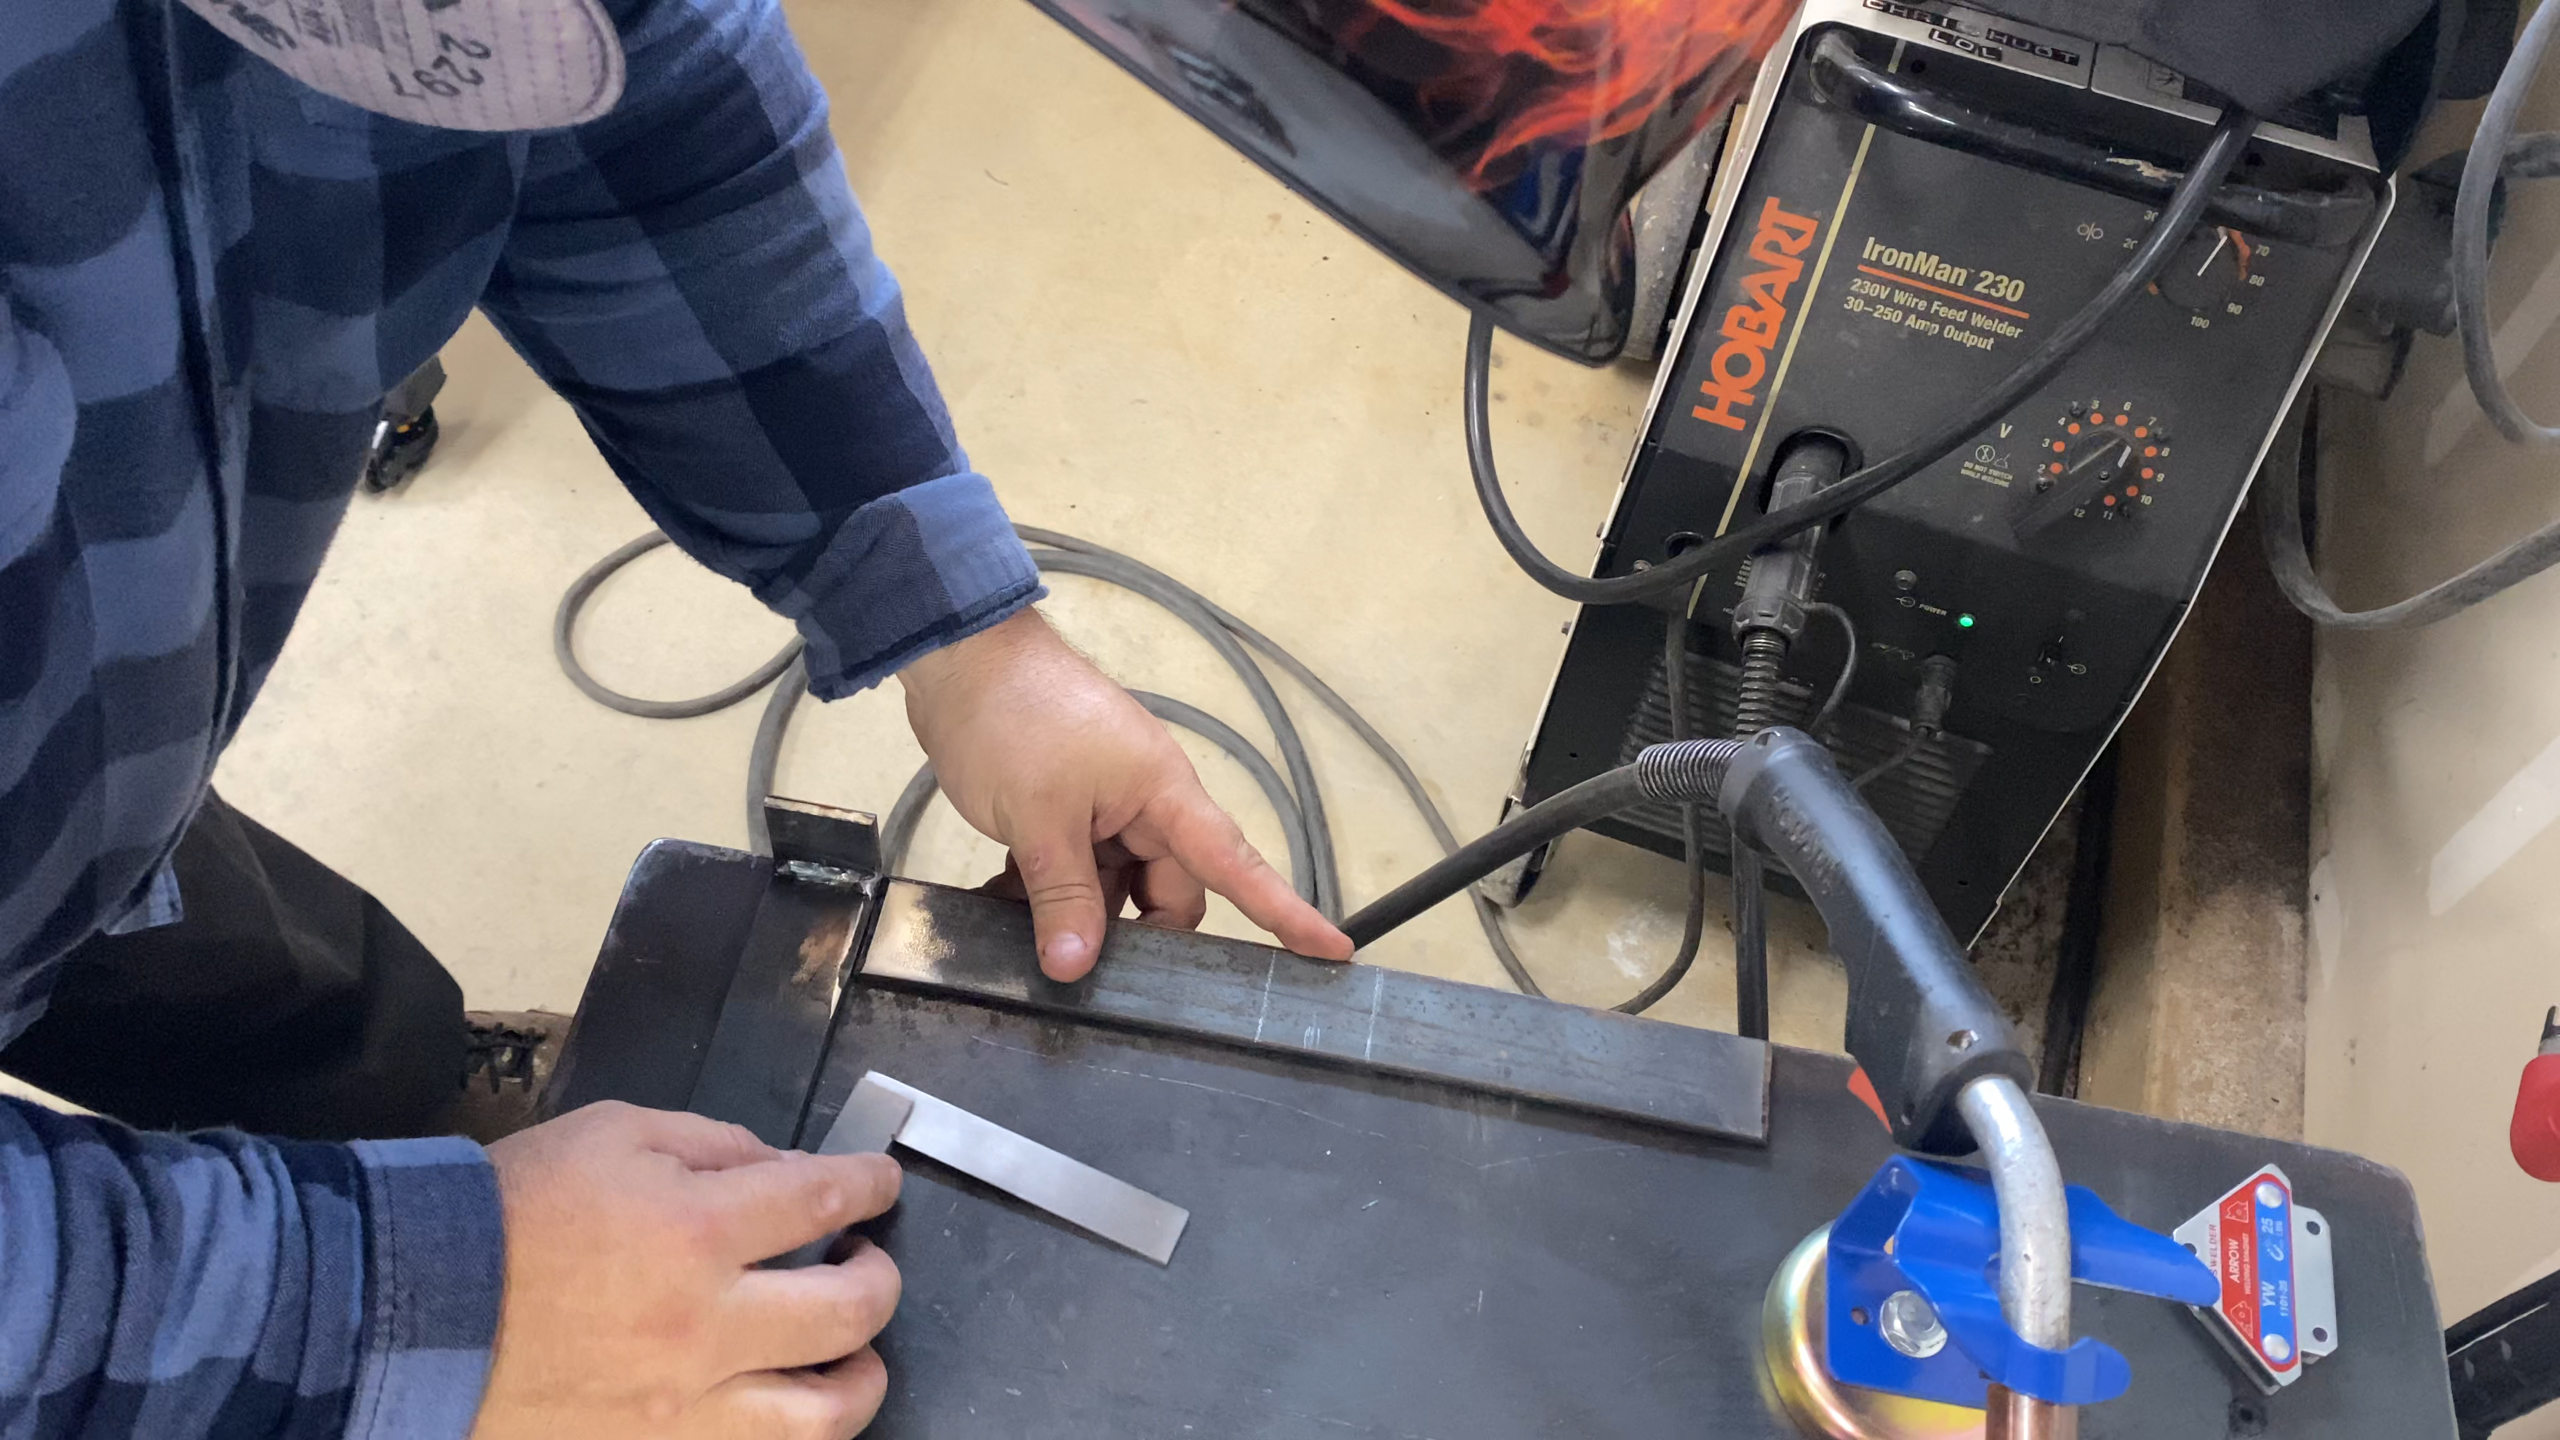
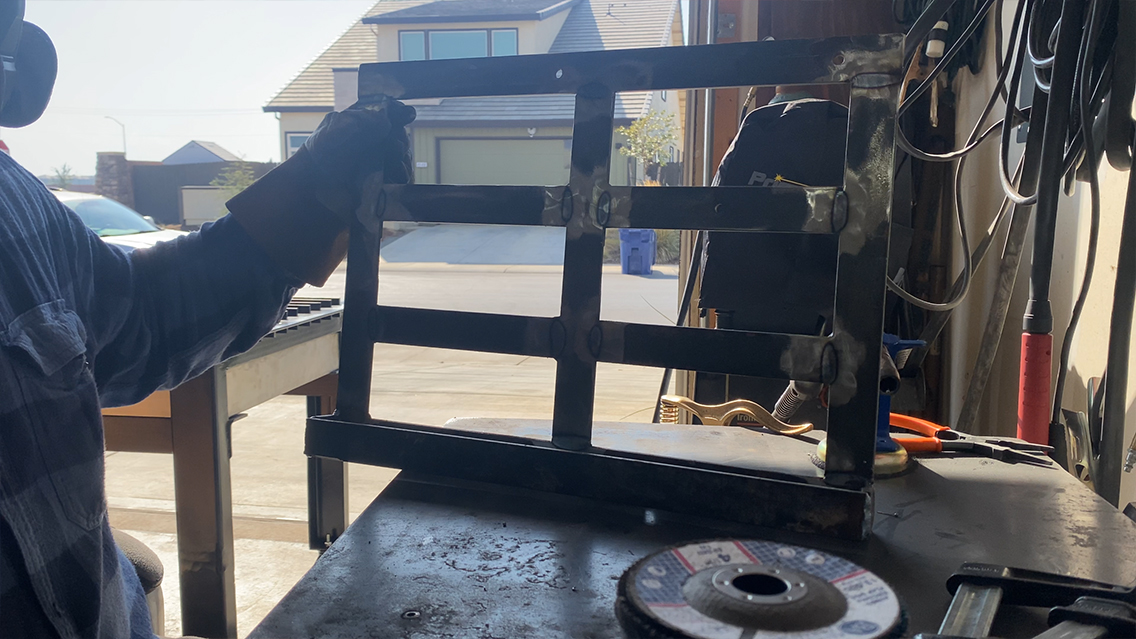
I continued building the frame out and was careful that I made every piece square.
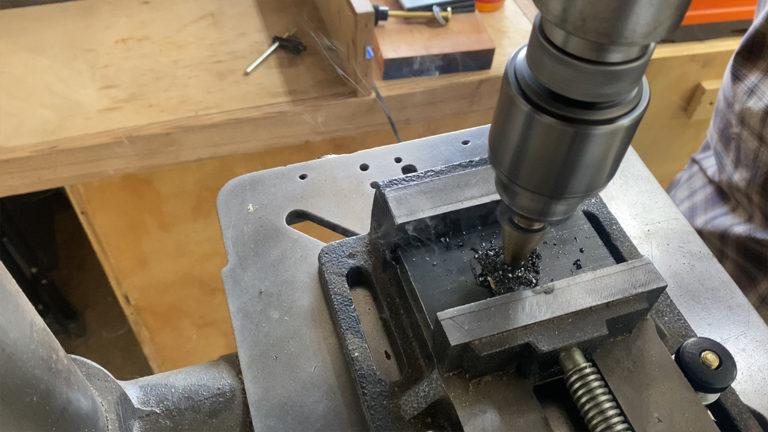
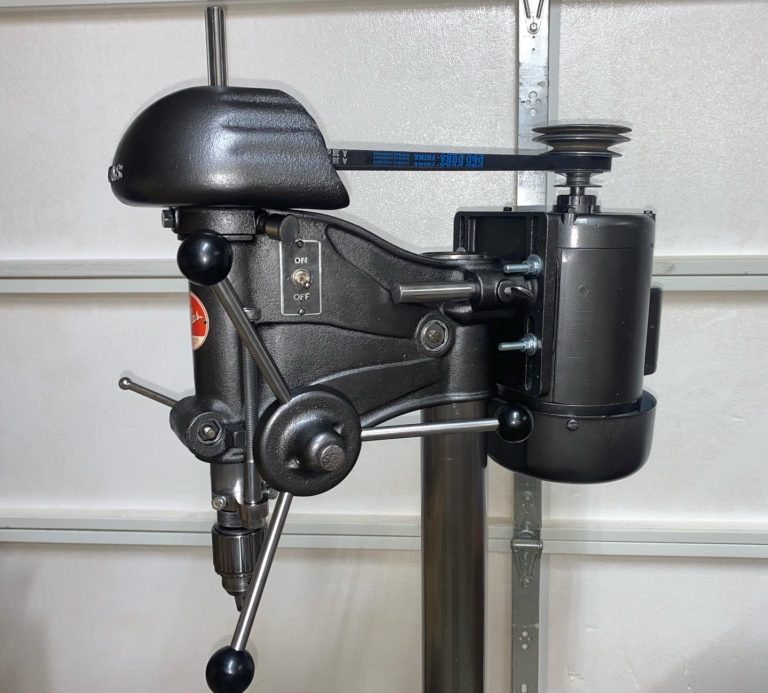
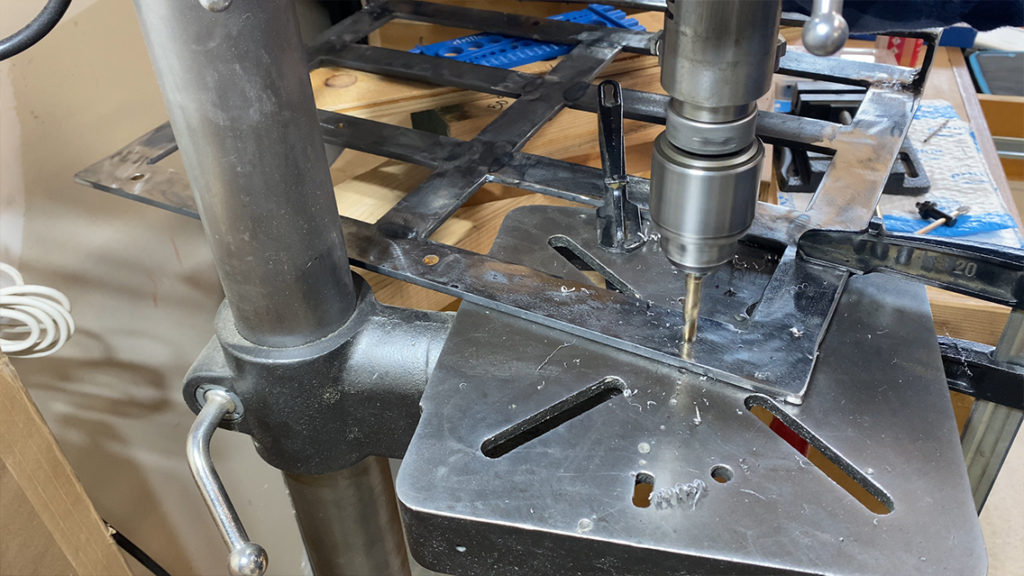
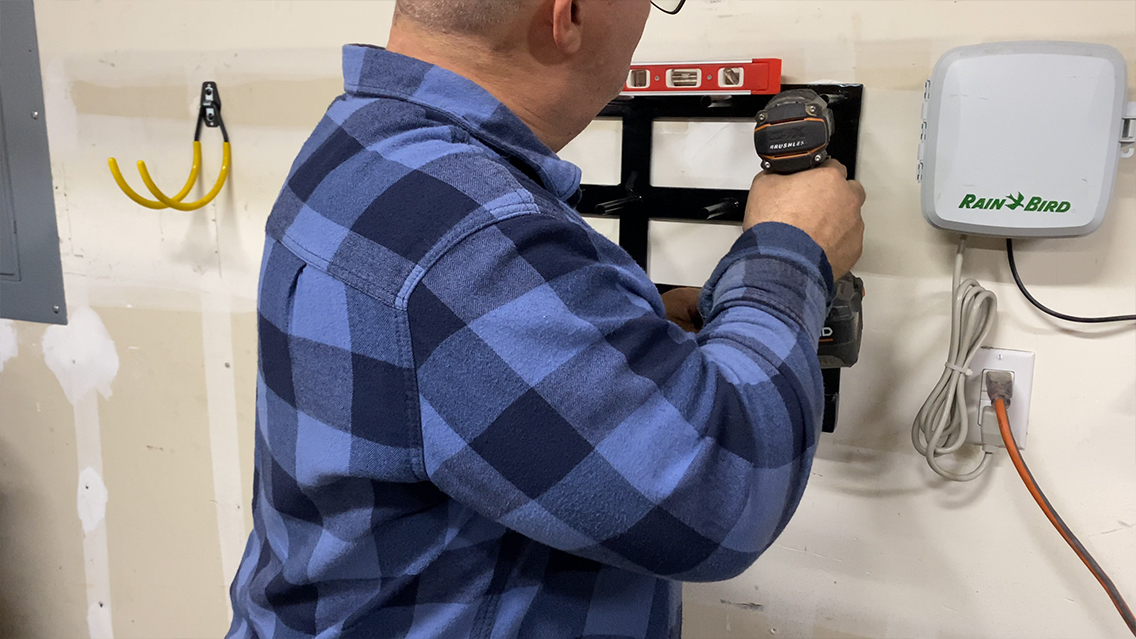
I needed to drill the holes to hang on the wall before I did anything else. So I measured up my wall studs and found they were 16″ on center. I drilled the holes in the frame out with my Atlas drill press.
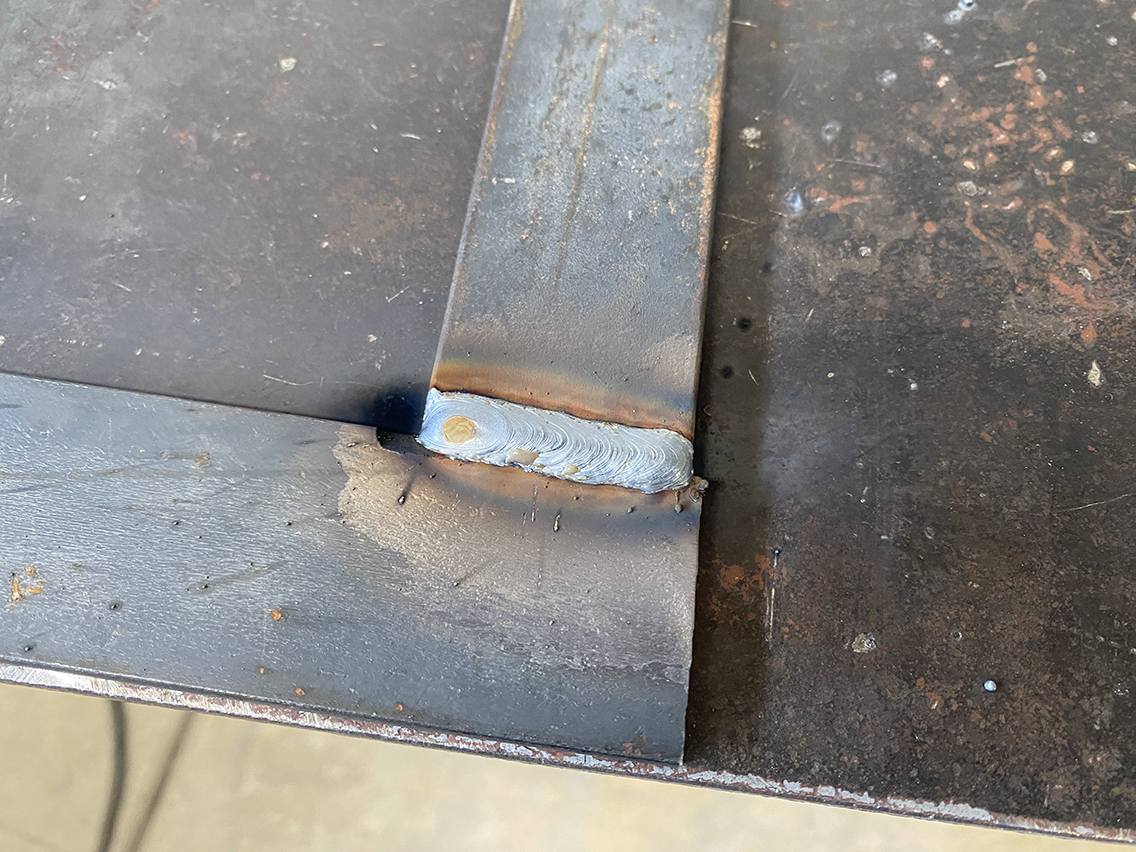
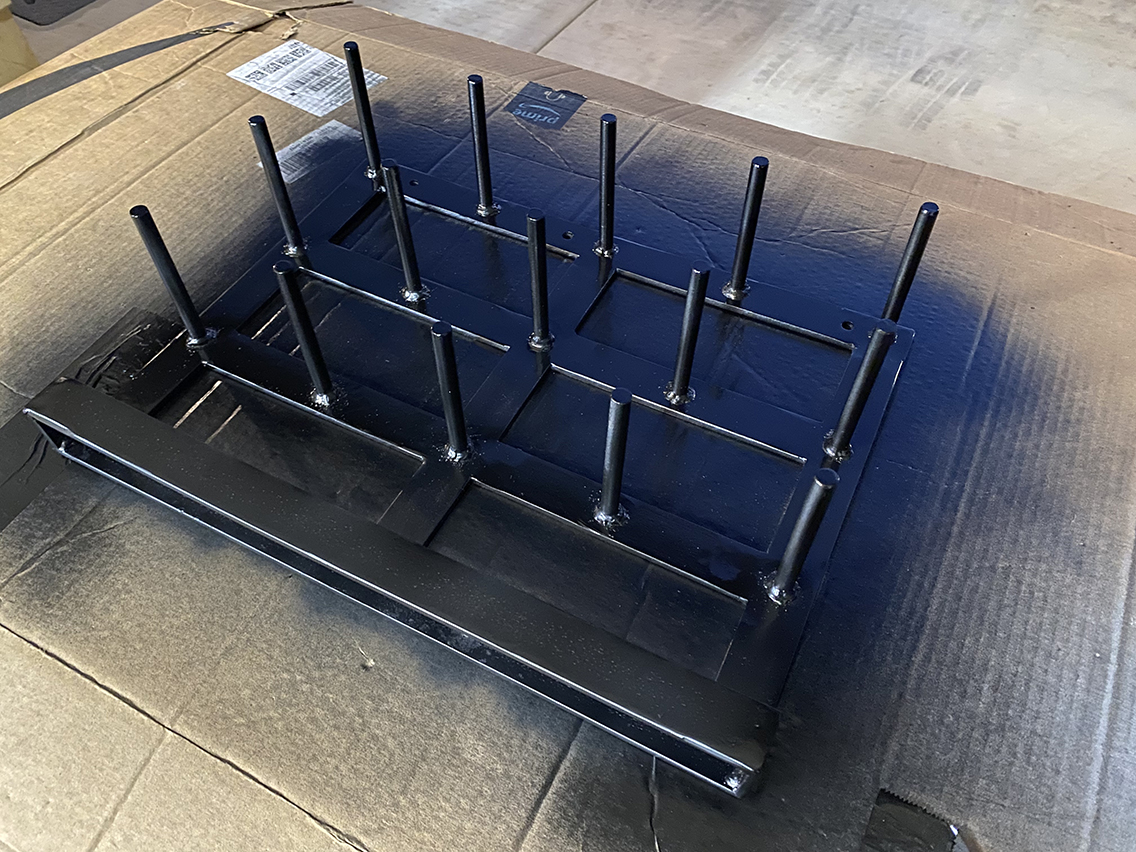
After the holes were drilled, I started grinding all the welds. I put the front piece of the grinder holder rack and welded that last. It came out good.
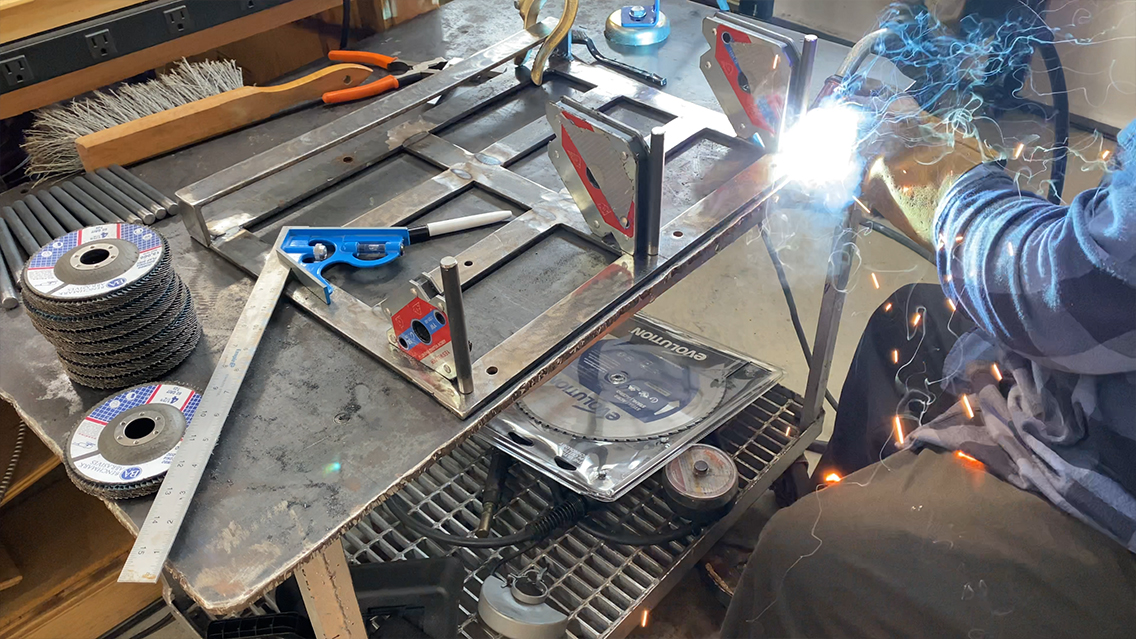
Now that the frame was done, I wanted to work on the pegs. I used my magnet arrows to place each peg 90° from the frame. I started with the far outside pegs and the center peg to get a good consistency as far as spacing on each row. Then I moved to each peg in between those pegs. It worked out well.
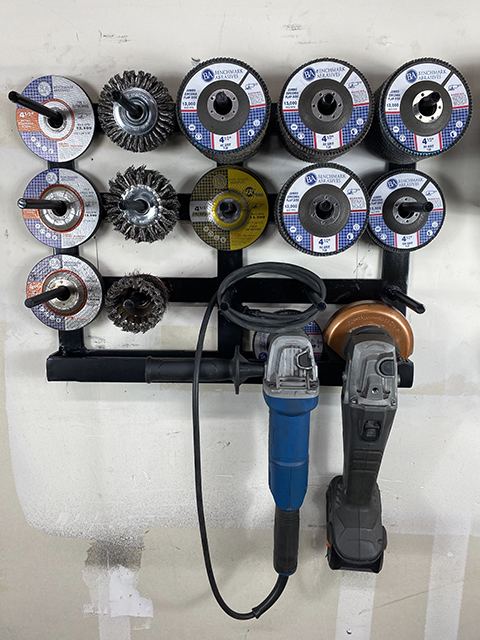
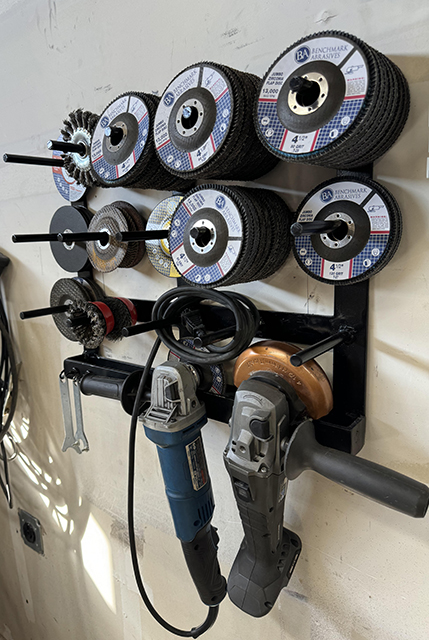
At last, all 15 pegs were welded in a nicely spaced grid and all were checked to have good clearance for each disc.

I then cleaned up my welds and prepped for painting.
After the paint dried I used a bubble level a screwed the frame to my wall studs using Kreg HD screws.
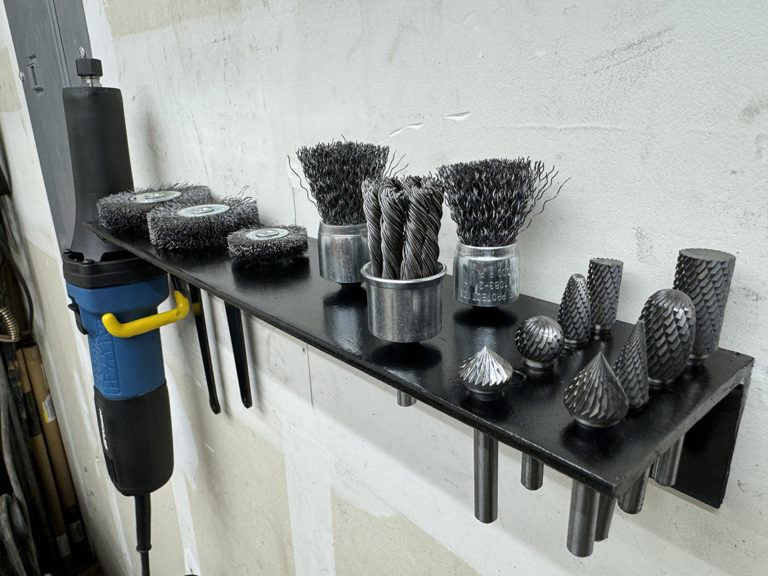
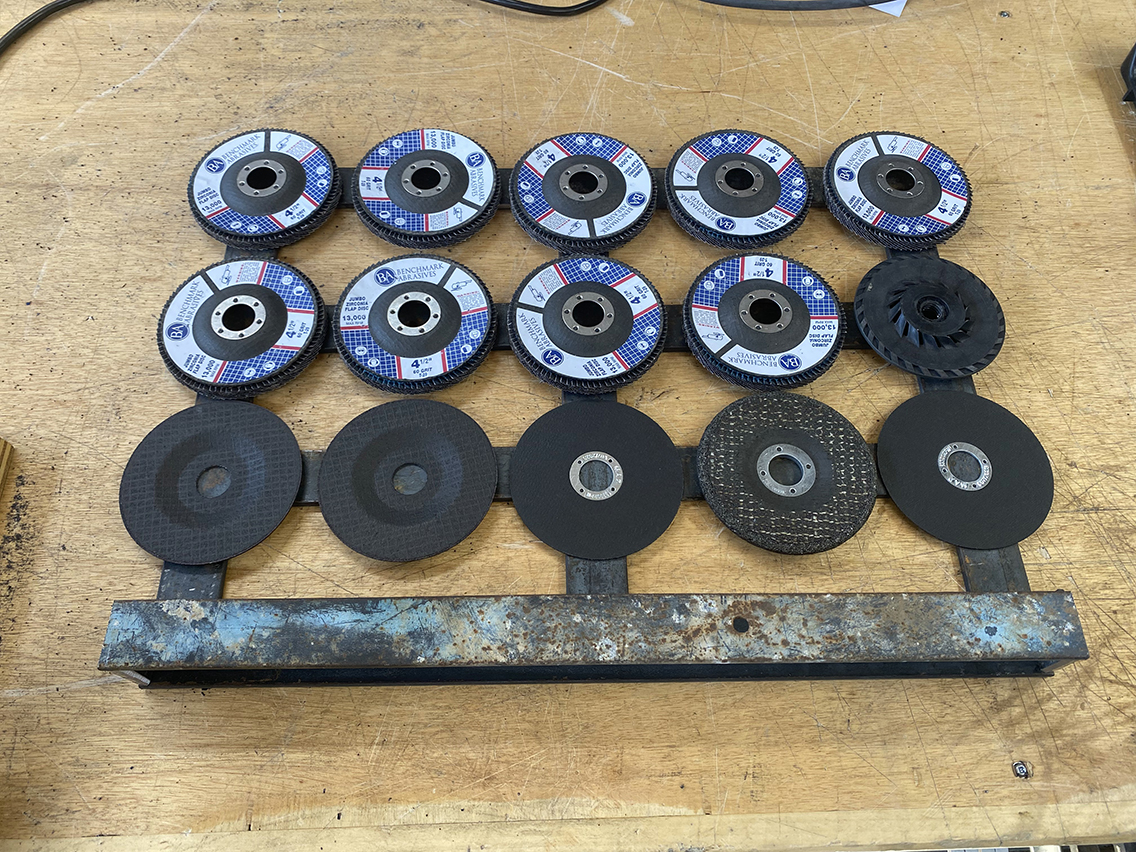
I opened up my box that Benchmark Abrasives sent me and to my surprise it was quite a variety of discs! They even sent some wire wheels as well! I appreciate Jack for sending me these discs and will continue to use these quality products.
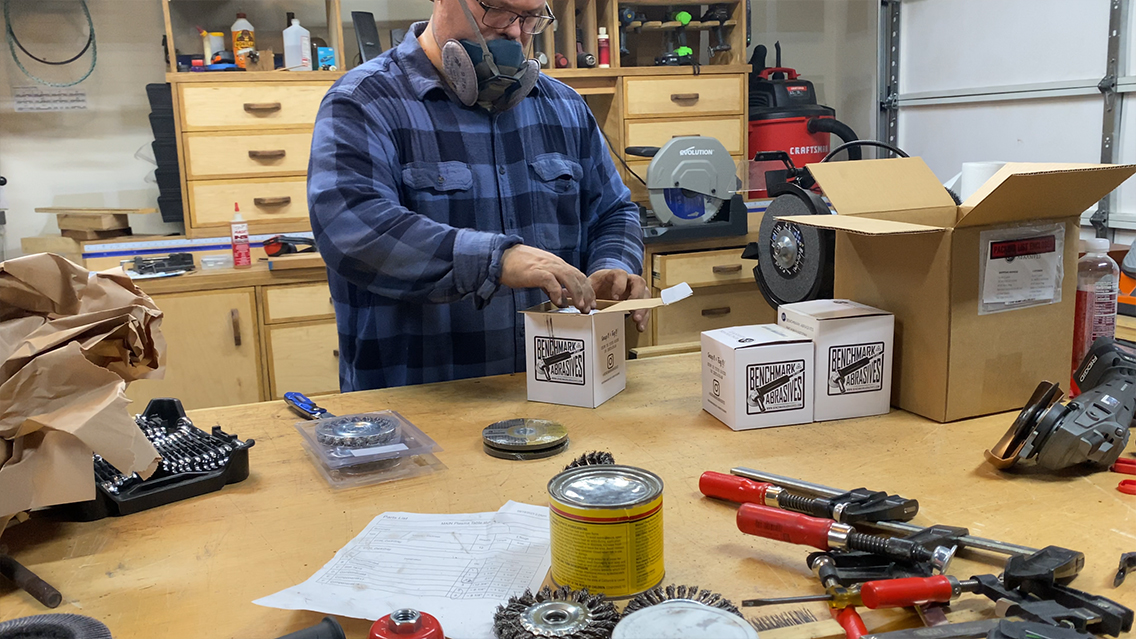
Well, here it is in all its glory. All the discs fit perfectly in their own category. I still have room for 2 more grinders if needed. More than enough room for more discs. But this is a great start!

The Benchmark Abrasive products I use are:
- Cut, Grind, Finish! All-In-One Variety Pack
- 4-1/2″ x 7/8″ T27 Zirconia High Density Flap Disc – Mixed Grit 10
- 4-1/2″ x 7/8″ T29 Zirconia High Density Flap Disc – Mixed Grit 10
- 4-1/2″ x .040 x 7/8″ T1 High Performance 4X Ceramic Cutting Wheels
- 4-1/2″ x .040 x 7/8″ T27 High Performance 4X Ceramic Cutting Wheels
- 4″ Standard Twist Knot Wire Wheel – Carbon Steel
- 4″ Stringer Bead Wire Wheel – Carbon Steel
YouTube Episode:
Materials Used:
- Rustoleum’s Semi-Gloss Black General Purpose Spray Paint and primer.
- 1 1/2″ x 1/4″ Steel Bar
- 1/2″ Steel Round
- GrTard 20 Pack Magnet Hooks
Tools Used: (Affiliate Links)
- Evolution S380 CPS
- Husky 200 PSI – 27 Gallon Oil Free Compressor
- Ridgid R4222 Miter Saw
- Dremel Platinum Edition 4000
- SolidWork Safety Goggles (They work with eyeglasses)
- 3M Resperator
- Benchmark Abrasives 4.5″ x 7/8″ 60 grit Flap Disc & 4-1/2″ x .040 x 7/8″ T27 High Performance 4X Ceramic Cutting Wheels
- Gooseneck Wrecking Bar
- Stanley 20oz Hammer
- 8oz Hammer
- 9″ Magnetic Bubble Level
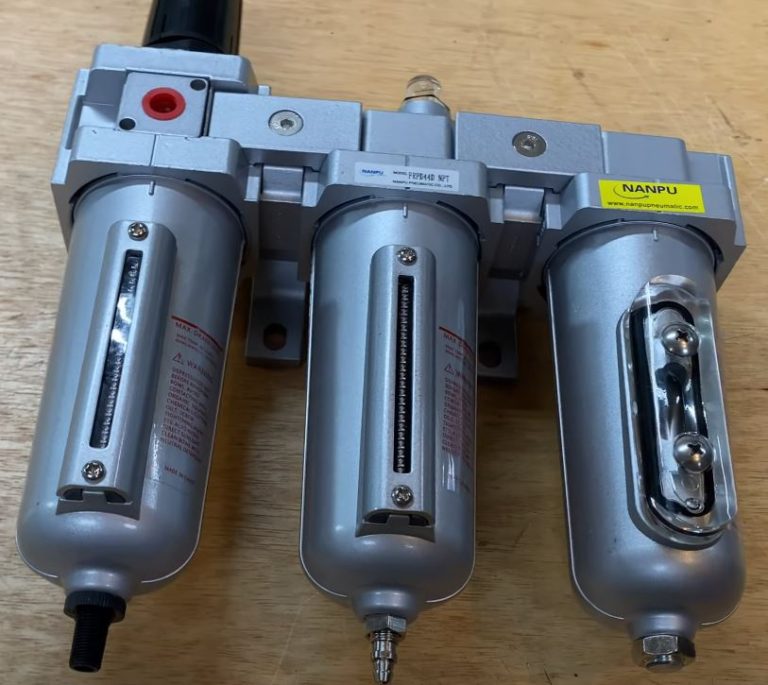
- Nanpu Air Filtration System
- PrimeWeld Cut60 Plasma Cutter
- 90° Magnetic Squares (Not Shown)
- Hobart Welding Plyers
- Ridgid 18v Brushless Angle Grinder
- Markal 96006 – Markal Silver-Streak Holder w/Insert
- 200CF 75% Argon 25% CO2 Welding Gas Cylinder Tank
- Fire Extinguisher
- Hobart Nozzle Gel
- Magnetic Dish
- Spring Loaded Puncher Set
- Irwin 3/8-in Center Punch IRHT82538 (Not Shown)
- Miller Electric 229895 Gage (Not Shown)
- TILLMAN 1350XL Welding Gloves
- GUTIMORE MIG Welding Torch Holder
- Hobart IronMan 230 Mig Welder
- 3M Resperator Cartridges
- Acrylic markers
- Step Drill Bits
- Files
- PEC 7000-S-4 4 Pc 2″- 6″ Solid Square Set in Case
- Wixey Angle Gauge
- FastCap PSSR-16 16 Foot Pro Carpenter Standard Reverse Measuring Tapes
- The Ridgid Shopvac
- WORX WX065 Clamping Sawhorses with Bar Clamps
- Bessey Drill Press Vise
- Atlas Model 73 Drill Press (1945)
- Harbor Freight HERCULES Variable Speed Bench Grinder
- Harbor Freight 8″ MultiPurpose Scissors
- Harbor Freight Doyle 4 1/2″ Bench Vise
- Harbor Freight 50ft Pneumatic Hose Reel
- Harbor Freight Bar Clamps
- Harbor Freight HERCULES 13 Amp 4-1/2 in. to 6 in. Trigger Grip Angle Grinder