Dovetail Candle Box

It’s been 14 wonderful years with my wife and I wanted to do something special. I think a gift like this that is made with love, more importantly with wood, is way more special than any store bought gift.

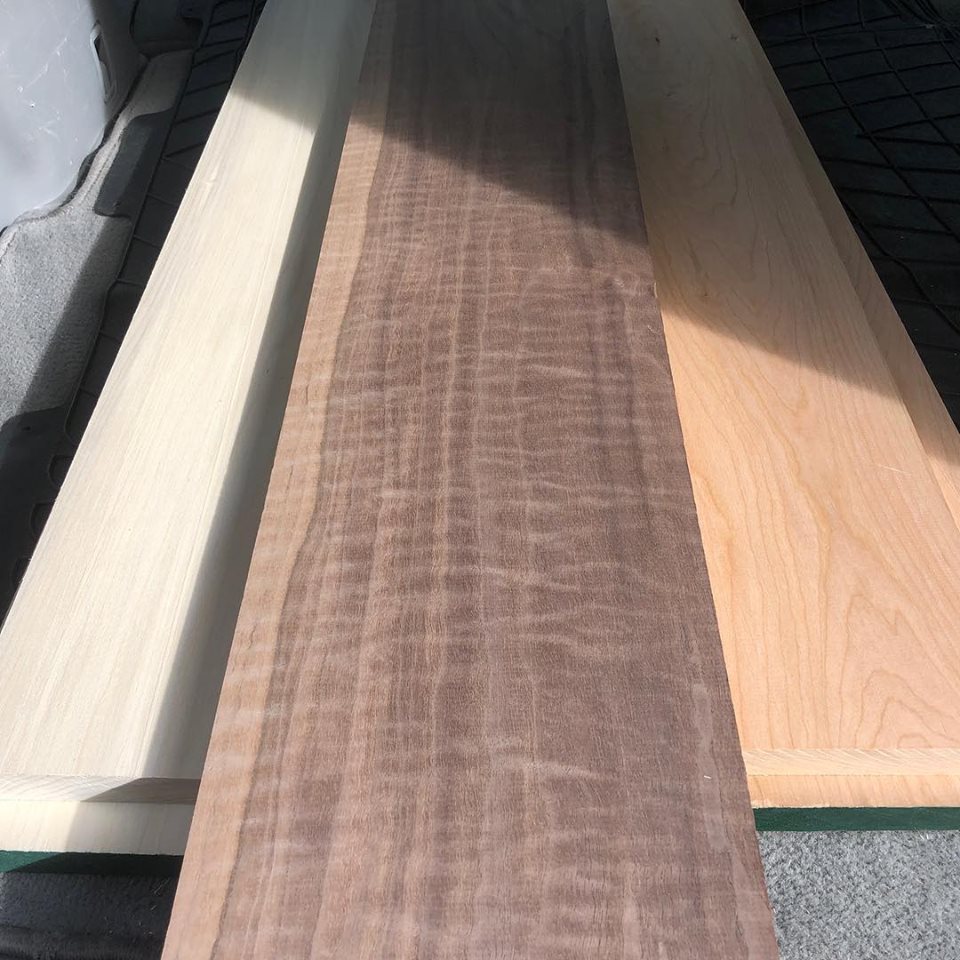
I had just purchased some nice hard wood and decided to go with the walnut. This particular walnut had a nice tiger stripe grain, but unfortunately it didn’t show on such a small item.

Left to Right: Poplar, Walnut, & Cherry

Nevertheless I decided to try a different design from the normal dovetail boxes that I had seen. The design I chose was a log cabin dovetail design.

Log Cabin Dovetails

I started out by cutting a little over 16″ to compensate for the saw kerf and whatever else I goofed up. Then I took those pieces to my band saw and cut them in half. Brought them to the thickness planer and got them to the right thickness. Off to the Porter Cable dovetail jig. I will say that anyone who has purchased this Porter Cable jig needs to replace all the existing bits with carbide ones. It’s a shame that they even include such junk.

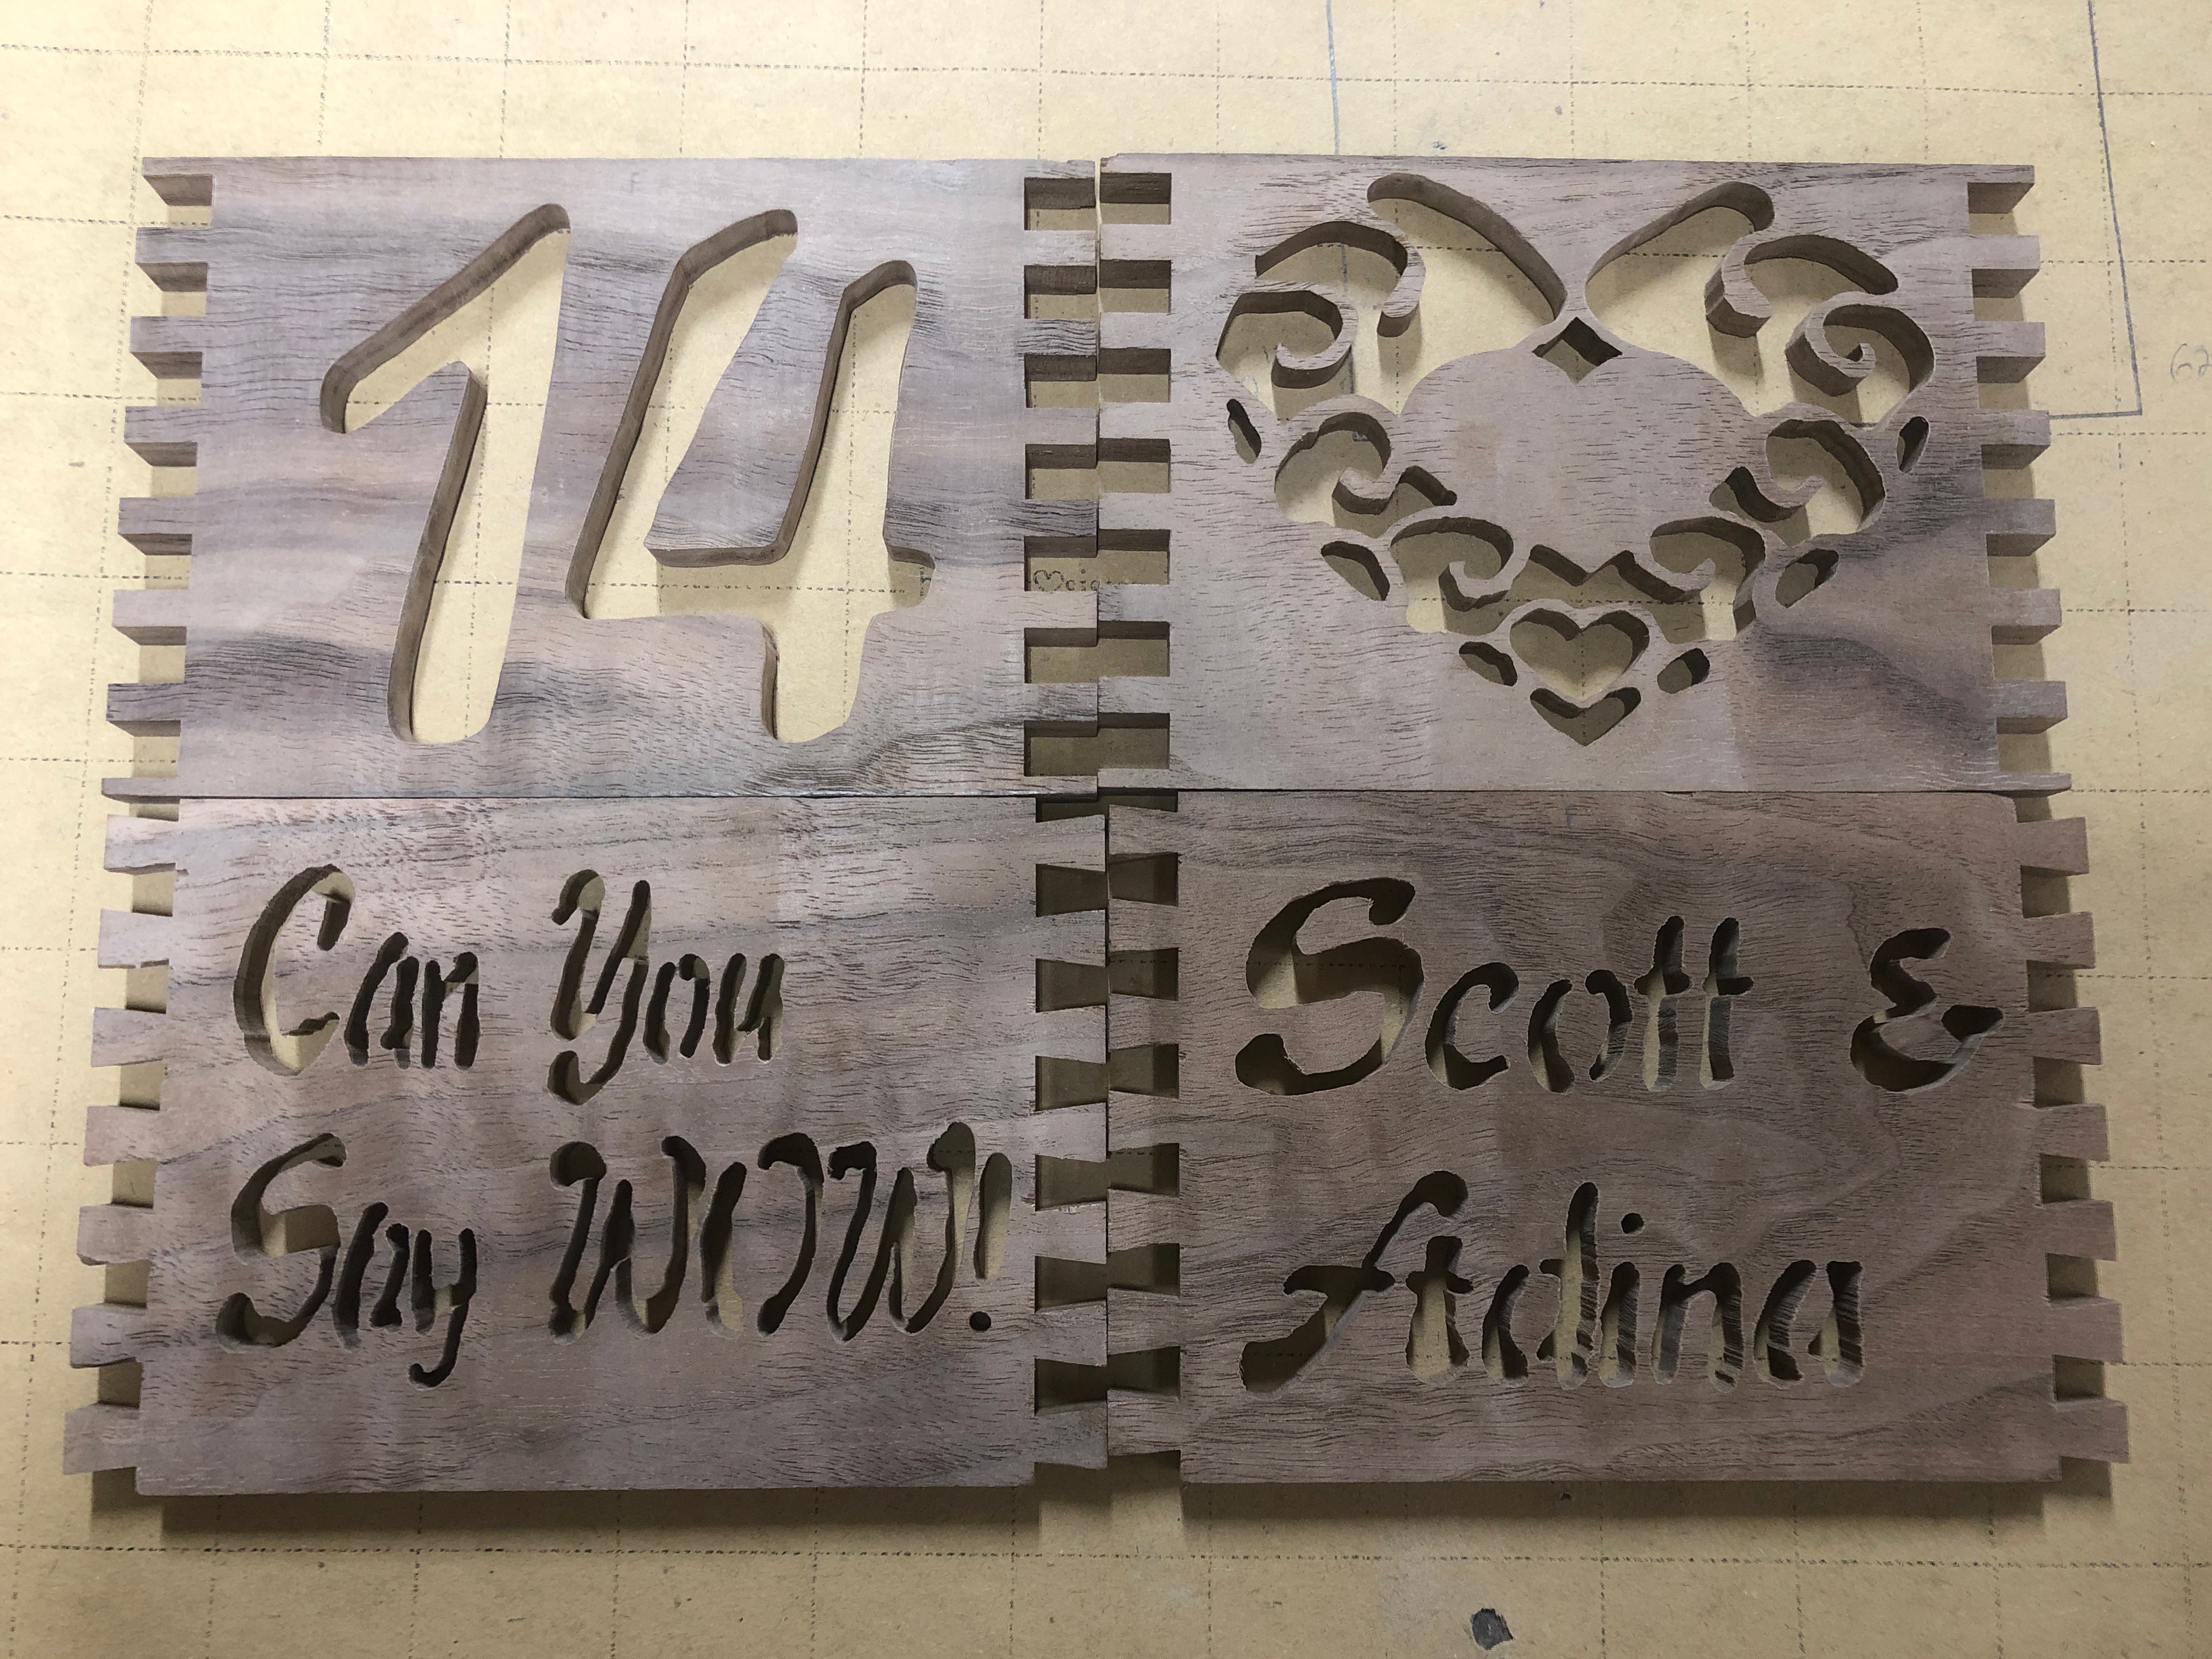
After routing my pins and tails, I finished the pieces with my scroll saw. I used the Duragrit carbide 360° scroll saw blade again. I decided to include our wedding phrase, “Can You Say Wow?!”. Along with the number 14, our names, and a heart design.

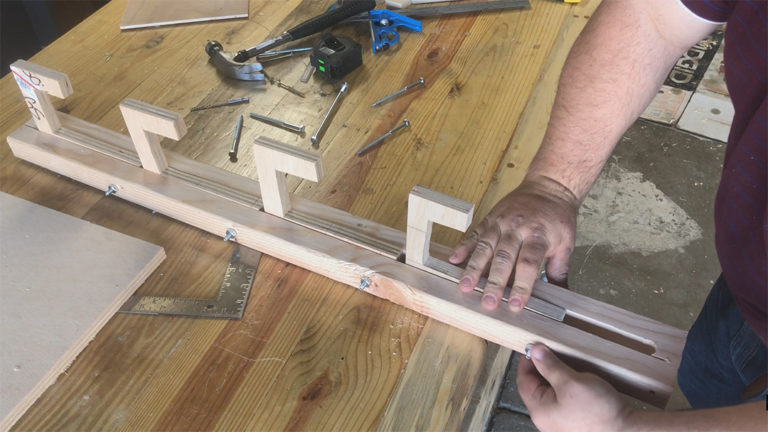
Proceeded to glue and clamp everything. What an operation!

Materials Used:

  • Titebond II Wood Glue
  • Walnut Hardwood
  • Deft Lacquer Furniture Spray

YouTube Episode

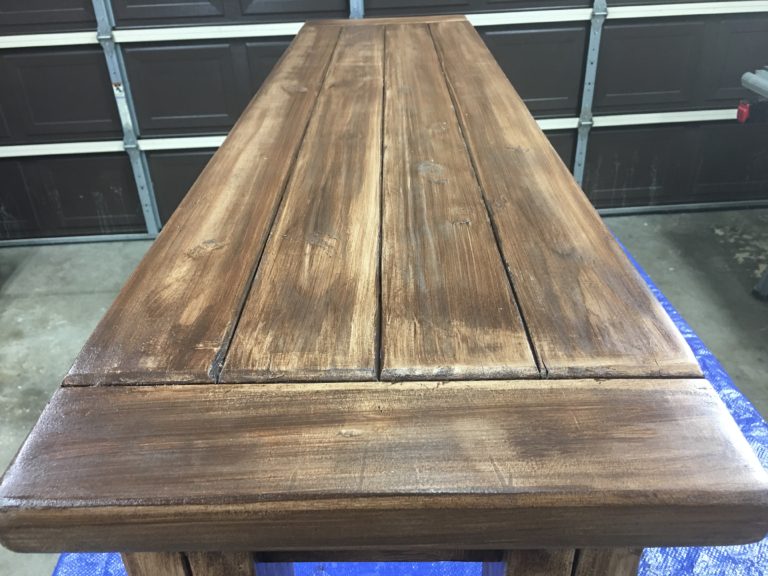
I finished it off with Deft Lacquer Furniture Spray and it came out beautiful. My wife really loved it! It was very interesting to learn how to make the box and use my scroll saw again for the designs. I’m very happy with the project. Here are some photos of the finished project. Every angle I might add… LOL

Similar Posts

  • Extension Cord Organizer

    I got tired of moving my extension cords from place to place, so I decided to find a permanent home for them. I researched various designs and ended up choosing the most optimal choice for my needs. There were a couple of ideas on the internet, including some episodes on YouTube. I customized an already…

  • Command Center

    Mother’s Day was approaching and my wife was hinting about our kitchen loft and how empty it looked. She decided to have me build a command center with a farmhouse style bench. I started the command center by looking on the internet for ideas. I wanted to see what people were doing. Well, it turns…

  • Adjustable Tape Dispenser

    I wasn’t really needing a tape dispenser, but I saw a random video on YouTube and it gave me an idea. Honestly, I think it’s a great thing to have in the shop. This dispenser can accommodate all sizes of tapes in random orders as well. The dividers can be arranged in any order. I’ve…

  • Kreg Shelving

    When I was first setting up my shop,  I made some quick shelving for my power tool boxes. Like everything in life, we tend to look back and critique some things. Well, I think the new version of the shelf is better. It’s nothing special, I just used a couple of pieces of plywood and…

  • Drill Bit Storage

    I needed something quick and handy for my growing collection of drill bits. I made an identical cabinet for my router bit collection as a trial run and I liked it. So I just duplicated it for my drill bits. It’s just a basic cabinet for my drill bits. Nothing elaborate or anything. I started…

  • Farmhouse Bench

    This was the second of a two part series for my wife’s command center area. I really wanted to design my own bench, but my wife really liked this particular farmhouse bench style. This was a fun project to make. We used a specific stain recipe to give it a weathered look. This was the…