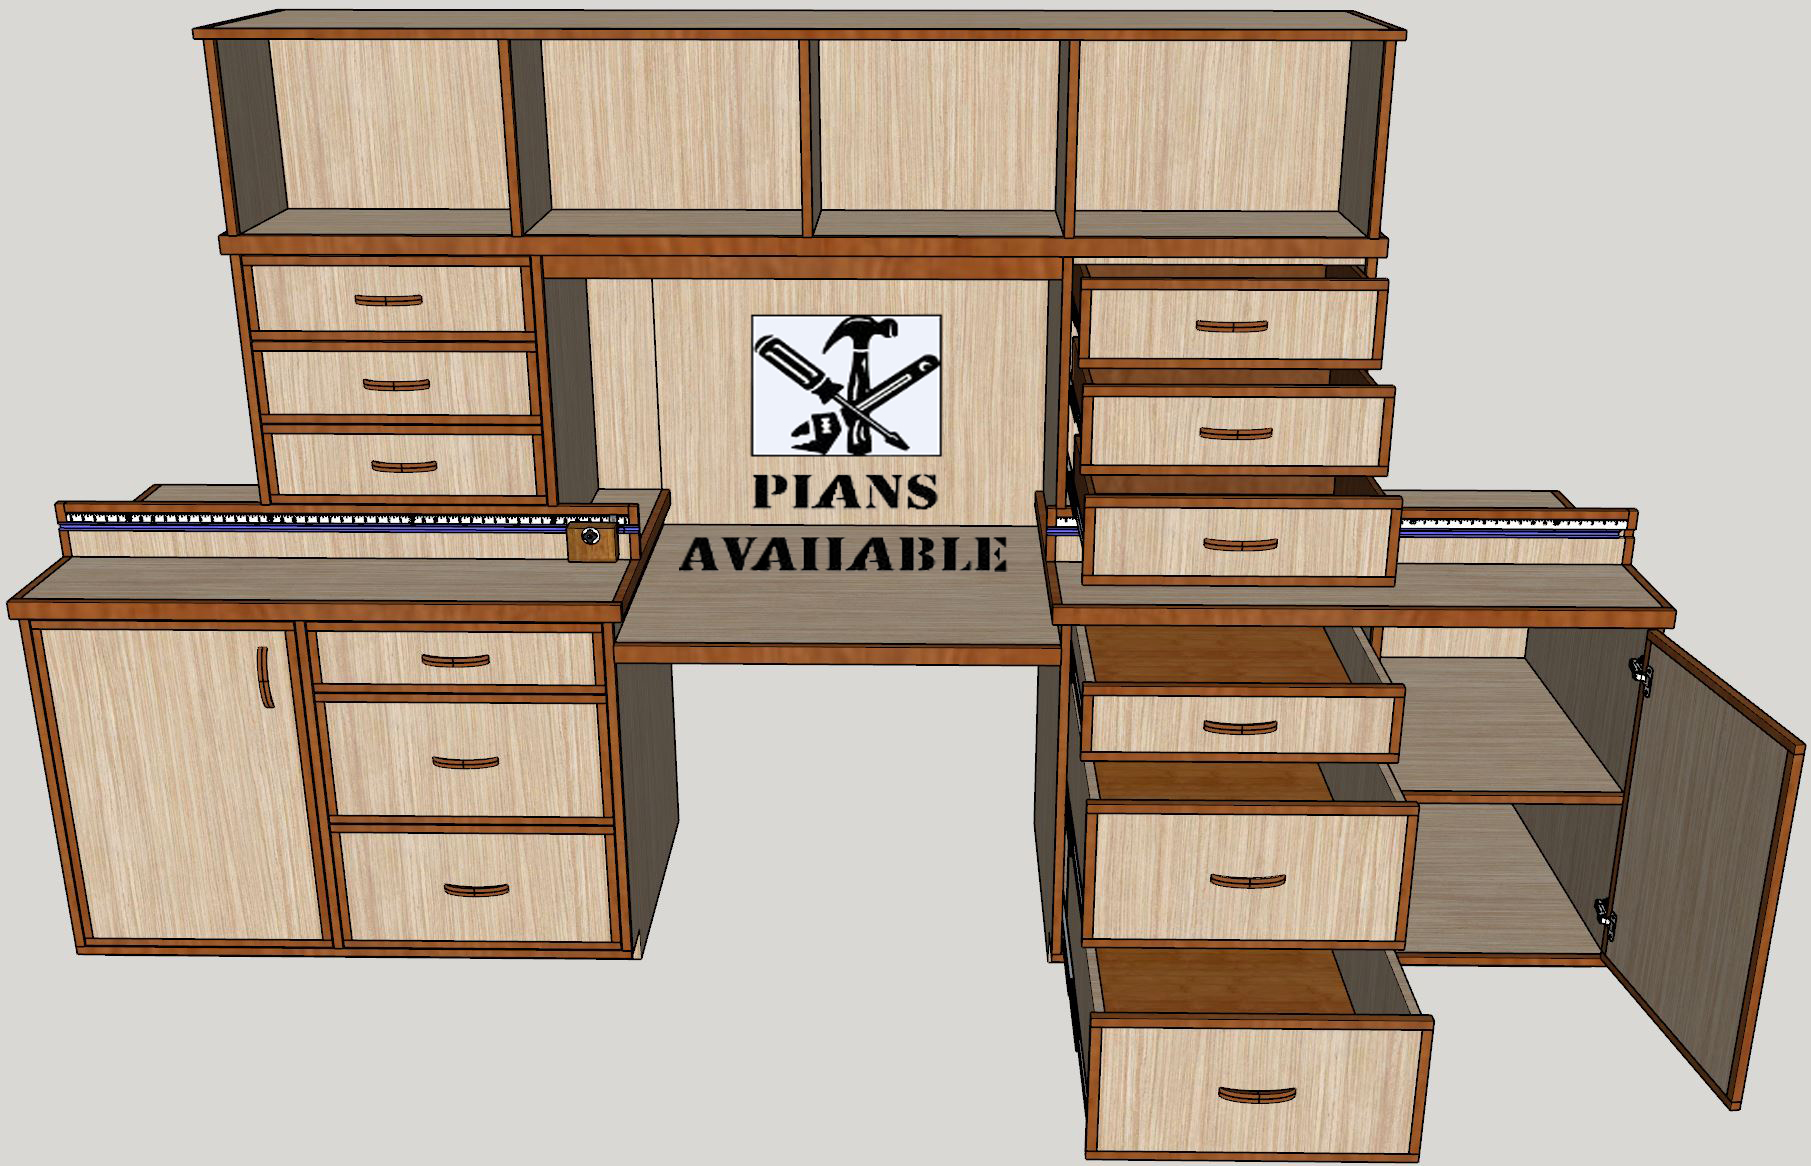
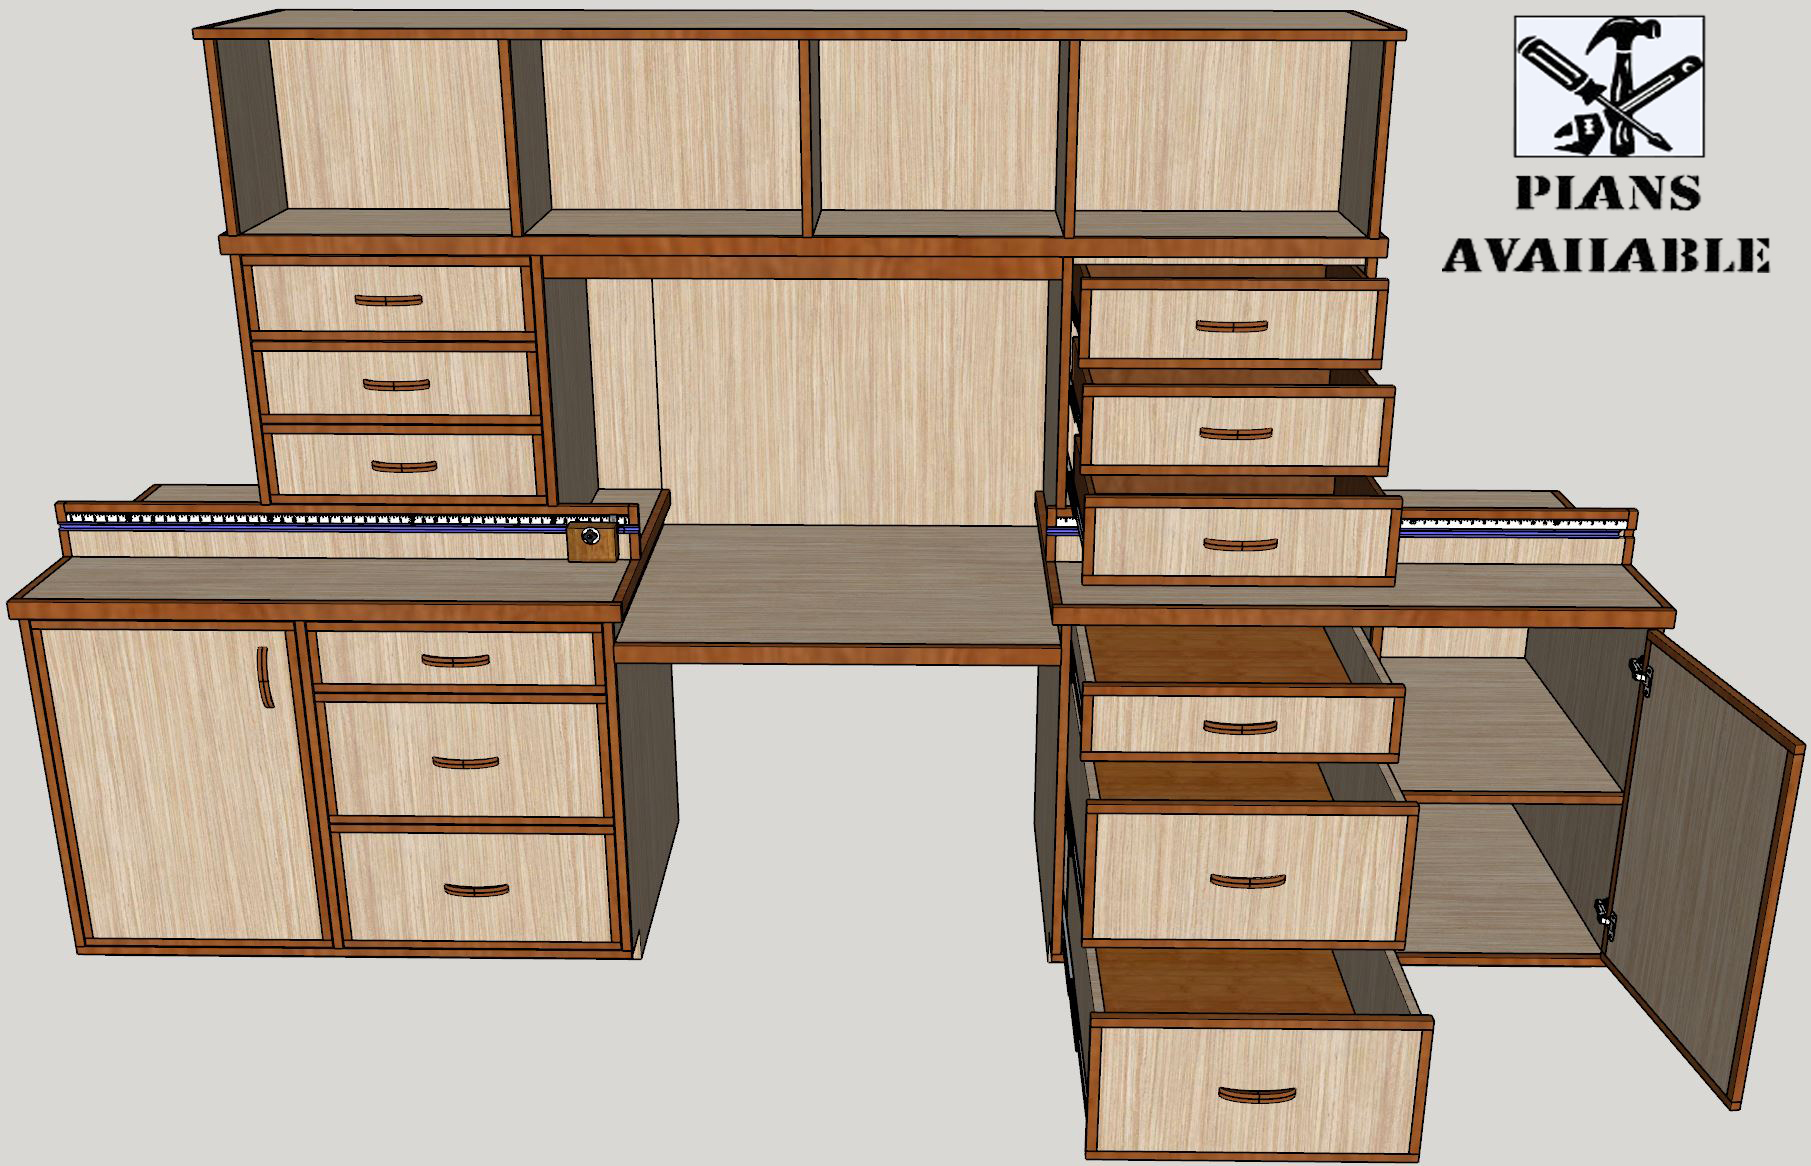
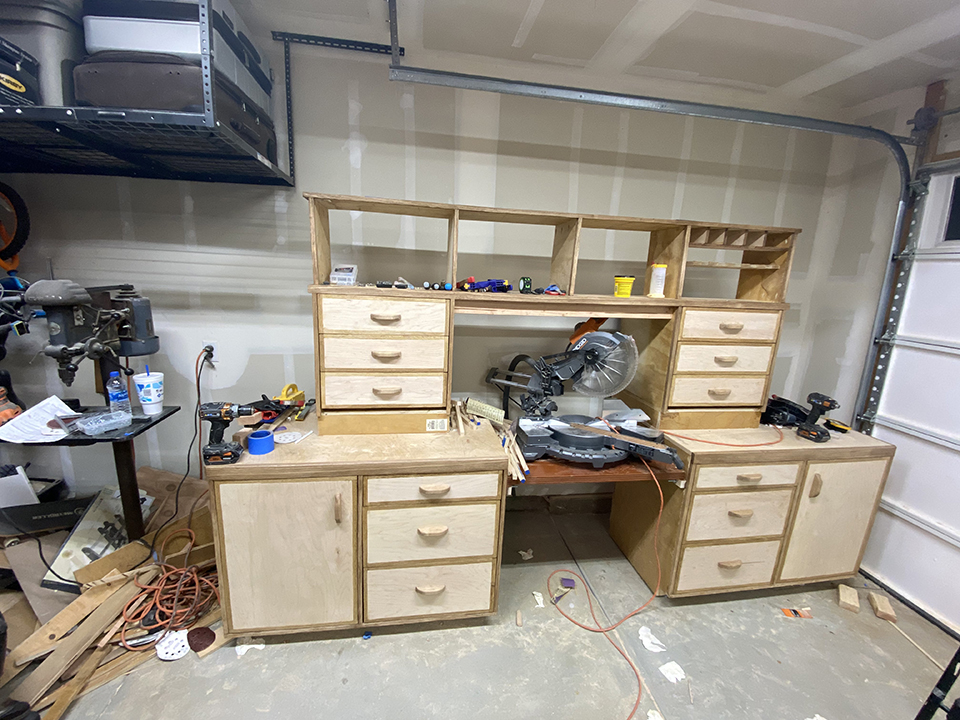
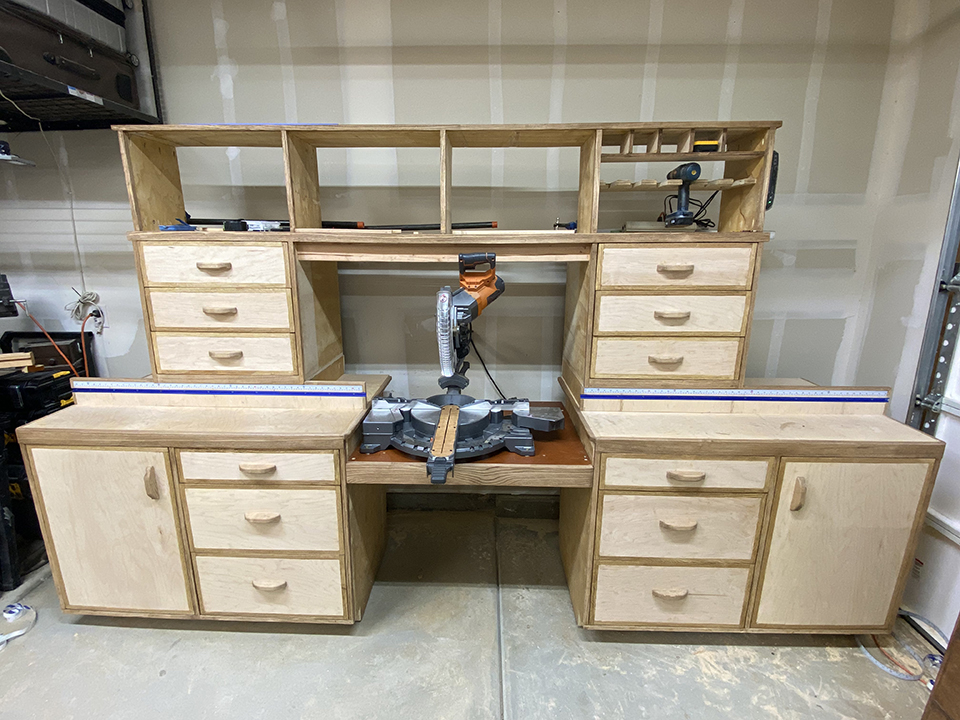
ULTIMATE “Small Shop” MITER STATION
It’s been a couple of years since I built the Miter Station. It’s always been a regret that I was so anxious to build and complete it that I didn’t bother to film a YouTube episode on it. Well, I was digging through some folders and found the build photos! So that is what this post is about.
I’ve also released some plans. Be sure to check them out!
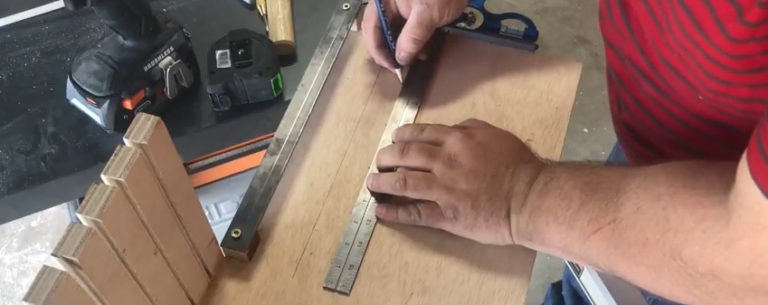
Well back to the actual build story. I wanted more storage and more organization in my shop. It seems lately I’ve been really focused on it. I looked around and didn’t find anything that I liked. But I finally came up with a design that I really like. And what’s nice is that it’s not huge like a lot of miter stations out there. Getting all the stuff to build it is a different story.
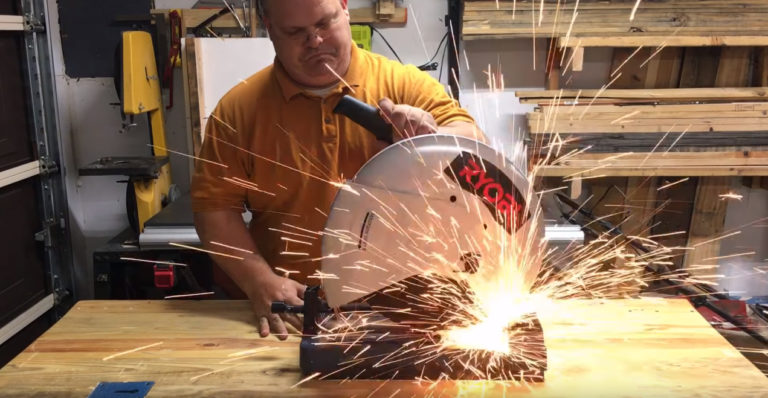
Of course plywood is horrendously expensive now days. So I was saving up. But low and behold I was driving through a country road and happened upon a dumpster of broken and used plywood. We’re talking a lot of plywood. So much that I made multiple trips. I couldn’t believe they were throwing it all away. I didn’t care, I got as much as I could and brought it home! Some of it was simply not usable. I figured I could use it on small projects in the future, so I still have some of that.
About 85% of the plywood was free from this project. I have a manager from Home Depot that calls me when plywood is defective and he saves it for me. If you have the right connections you won’t spend a dime. It’s not that I’m cheap, I’m thrifty. So I hope you enjoy what little photos I have left.
I did make an episode on the Fence System though. As usual, I fire up a free version of SketchUp and start designing and getting all the measurements down. And this is what I came up with.
It became a trial and error thing though. But doesn’t everything? There was a lot of modifications due to my miter saw’s ability to turn 70° as well as the ability to do compound miter cuts. Usually one doesn’t fuss with these things when building a miter station, but I like a good challenge and worked my way around it. Would you believe I’m still working on the dust collection? I haven’t had time to mess with it.
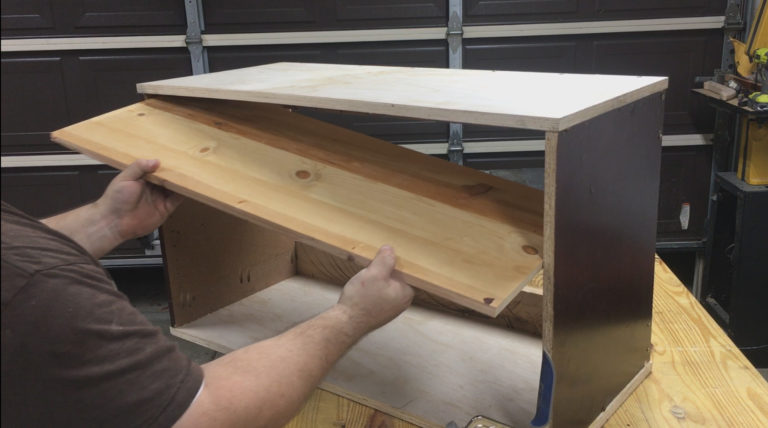
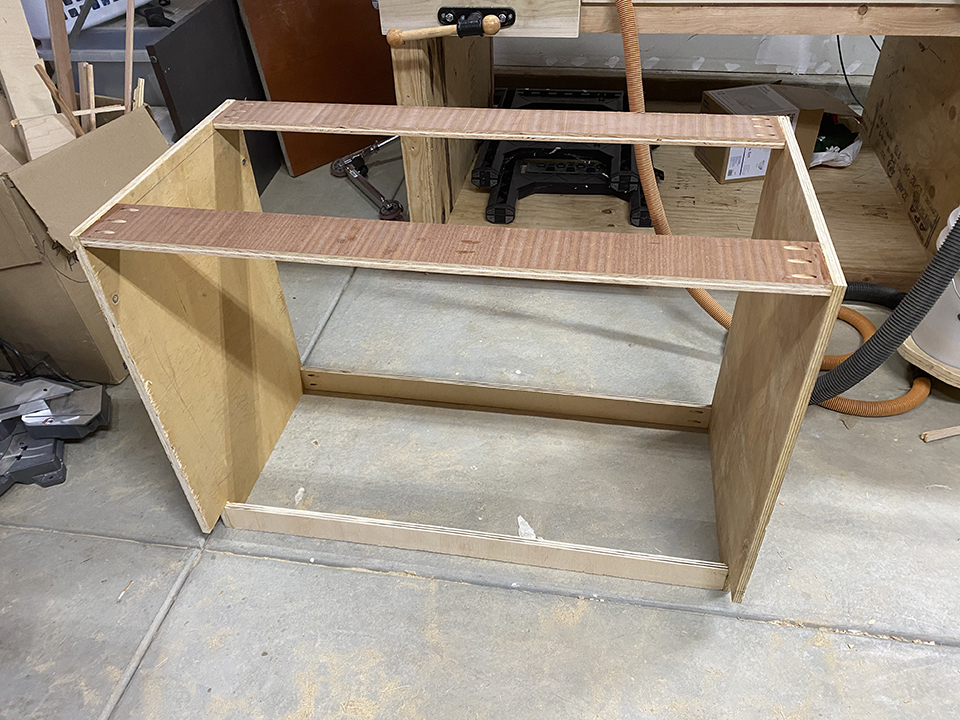
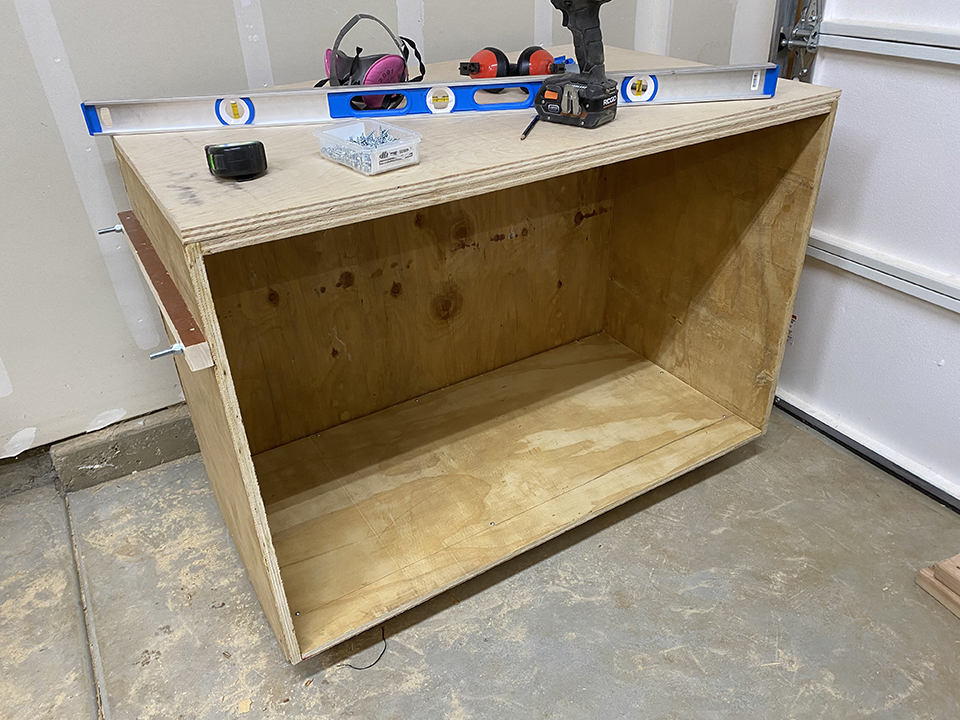
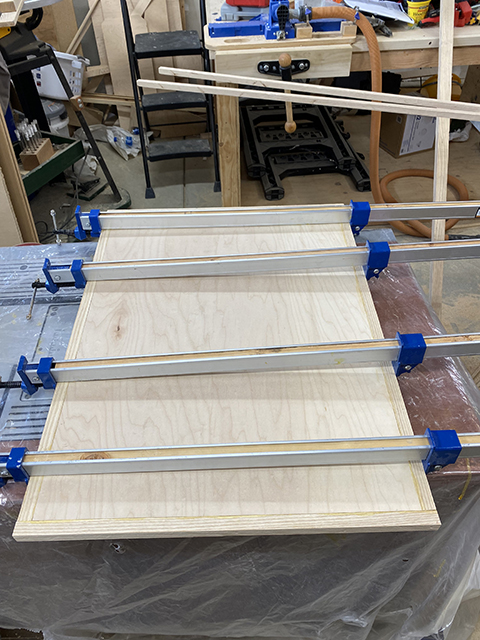
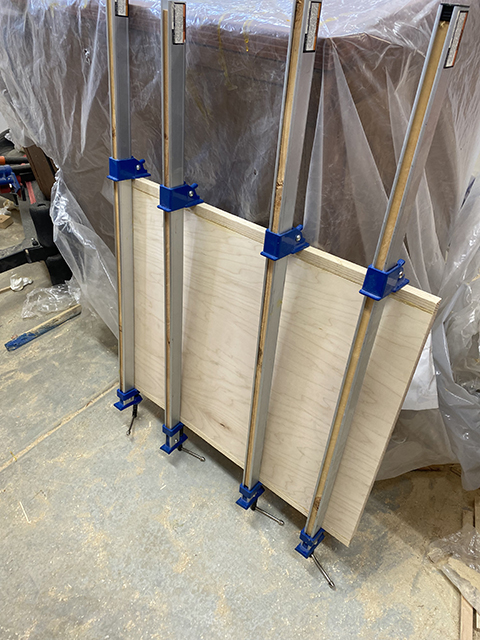
I had never built a cabinet carcass before and looked up the anatomy of a cabinet carcass. I learned it wasn’t too complex. I had a Kreg jig, so what was I waiting for? I started out with the Lower Carcass and built my way up.
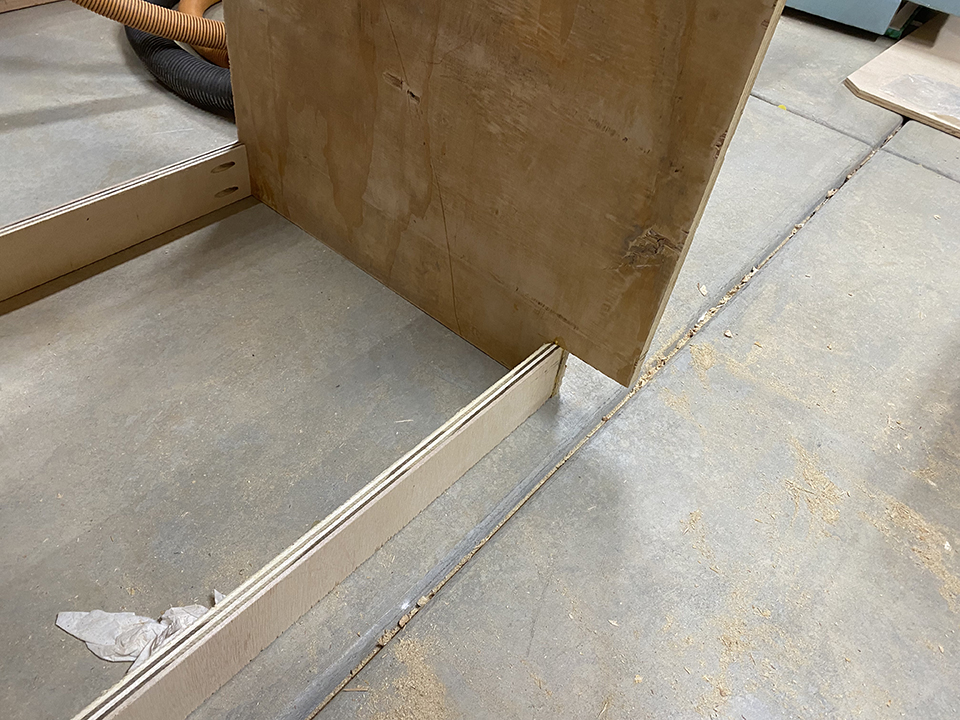
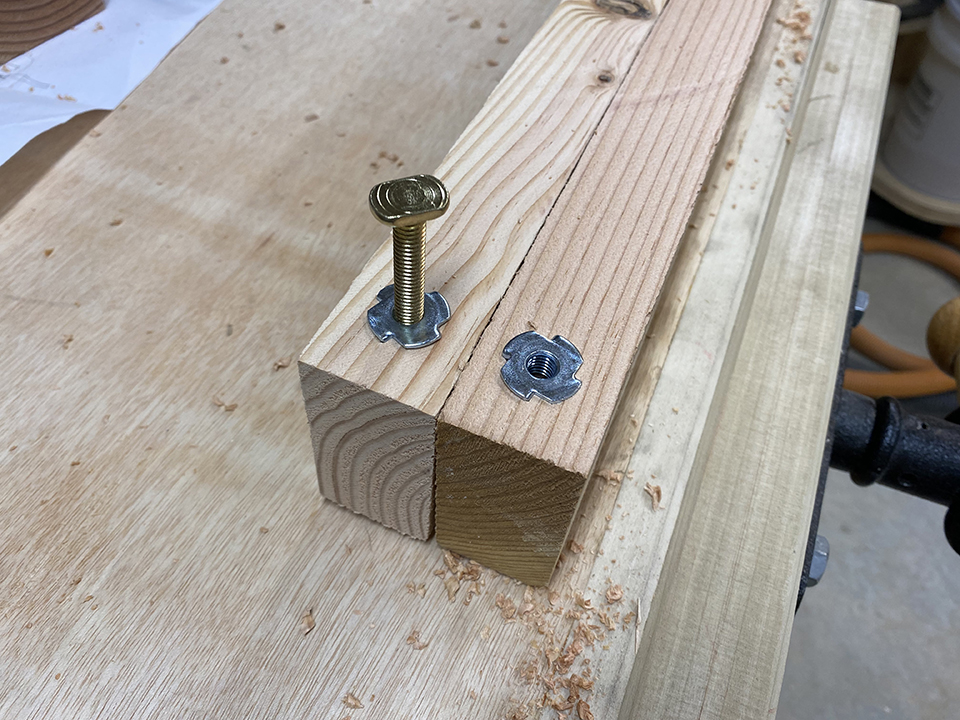
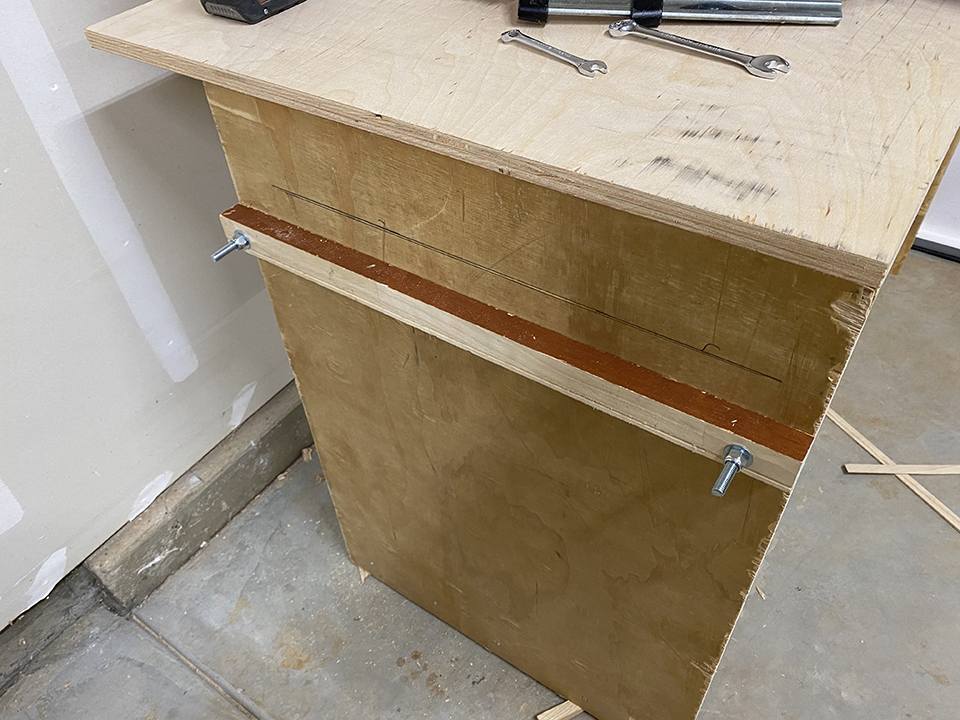
I realized I had uneven ground in my garage. This can’t be good I thought. So I wanted to use what I had in the shop and got some T-Nuts and T-Bolts and drilled a hole in a 2×4 and attached it to the bottom of the carcass. They worked really well.
This was the down and ugly dirty version of a guy building a miter station for the first time. It wasn’t pretty. But it was educational to say the least.
I set the first Lower Carcass assembly positioned so it would go out the garage door. This is handy for cutting long pieces like crown molding or baseboard. Every thing is by design you know.
I positioned the other Lower Carcass 36″ apart like my plans state. I then put a bottom piece after moving them into position. The more you add, the more difficult it is to move the carcass around.
Not sure if you saw that weird piece of wood bolted to the side, but I had a large 2″ thick piece of a office desk that I wanted to put in between the two lower carcasses to handle the weight of the miter saw and the heavy base. I get a little carried away when it comes to making sure things don’t fall apart.
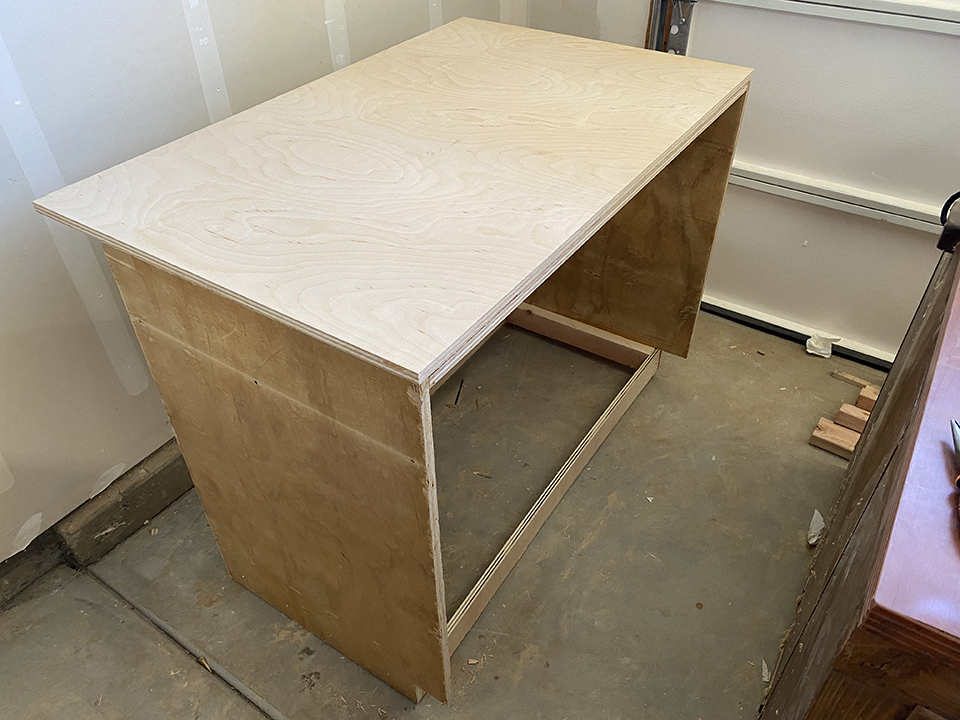
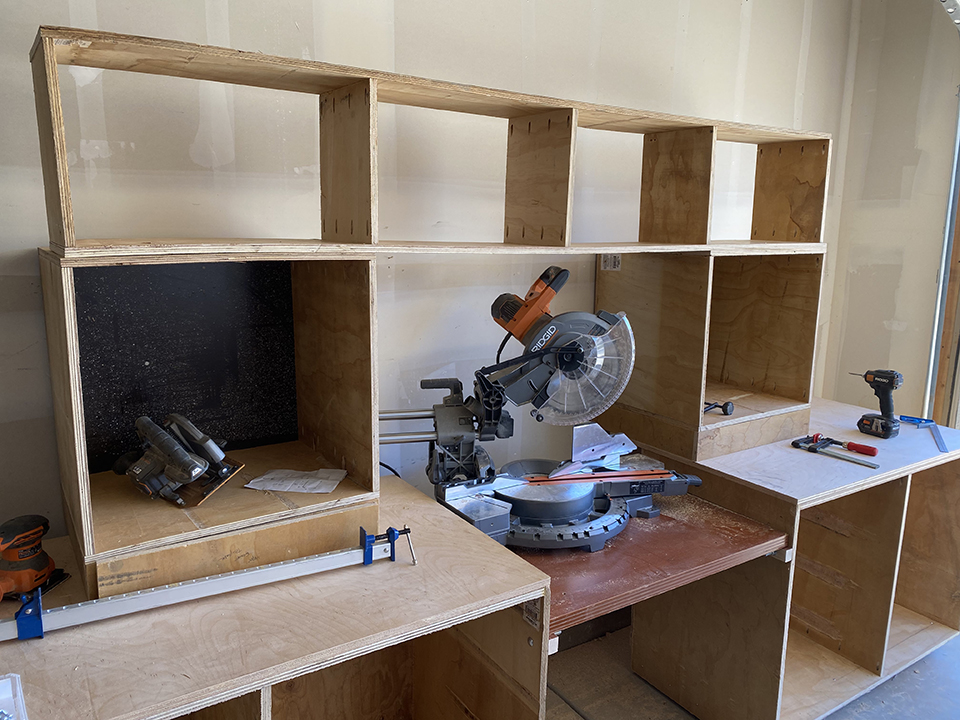
The hutch was next. Unfortunately, I don’t have that many photos of the build. But I put the upper assembly on top of the lower assembly and made the hutch shortly after. I wanted some cubby holes for quick access to frequently used tools. Like drills, sanders, and stuff like that.
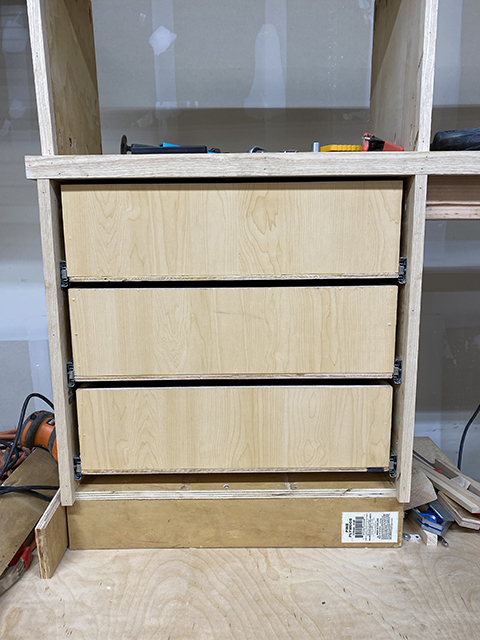
I then made all the Upper Assembly drawers. It was nice that they were all the same size. I used glue and Kreg pocket hole screws. I installed them and put the miter saw on the middle base assembly. This is when I figured out I was going to have to move the upper carcass 6″ over to accommodate my miter saw’s features like the compound cutting. I also started on the hutch and got carried away without taking any photos. But here is one mid way through.
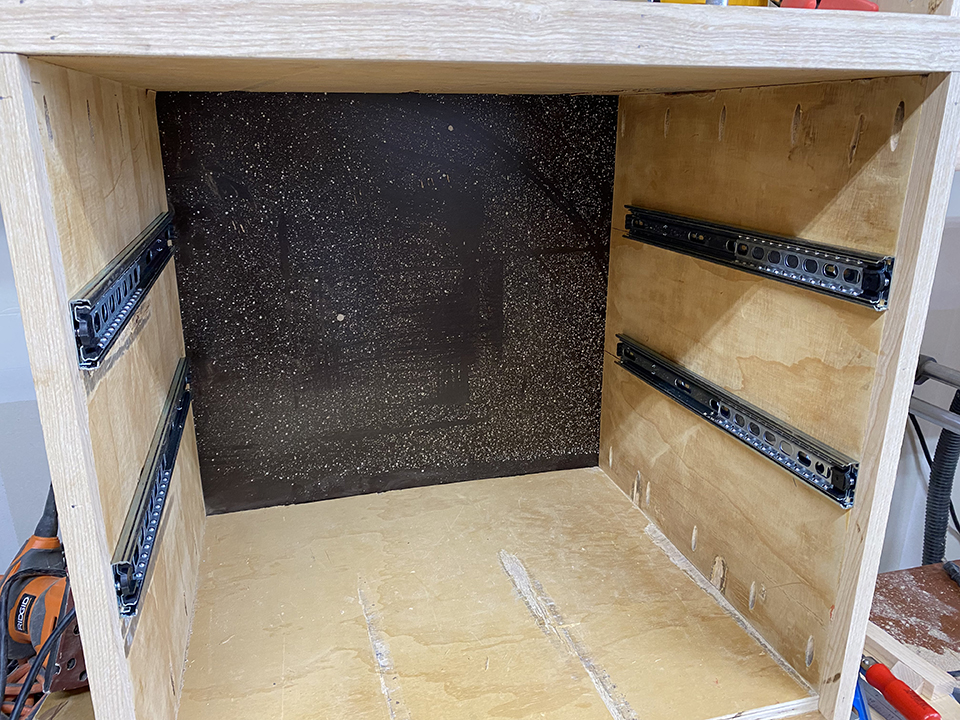
I got a call from my friends at Dado Heads, a local CNC company, saying they had some 1/2″ plywood scraps they wanted to through out. So I hope in the SUV and pick it up. It was a pretty decent score that allowed me to make all of the upper carcass drawers. Those drawers were going to store smaller items so no hefty 3/4″ plywood needed. So I glued and pocket holed them together cave man style.
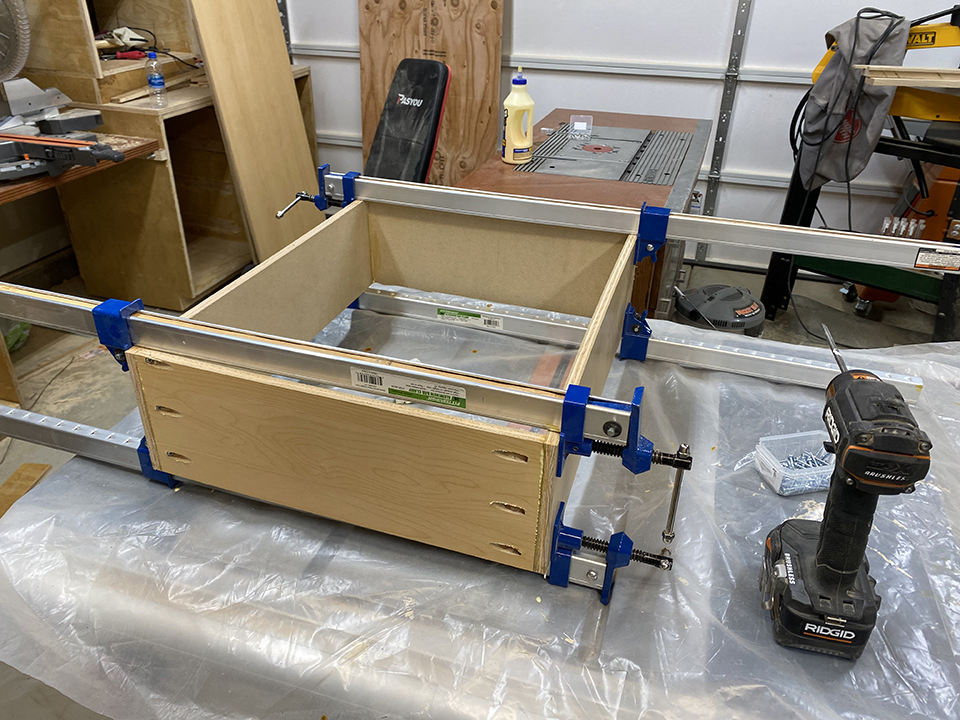
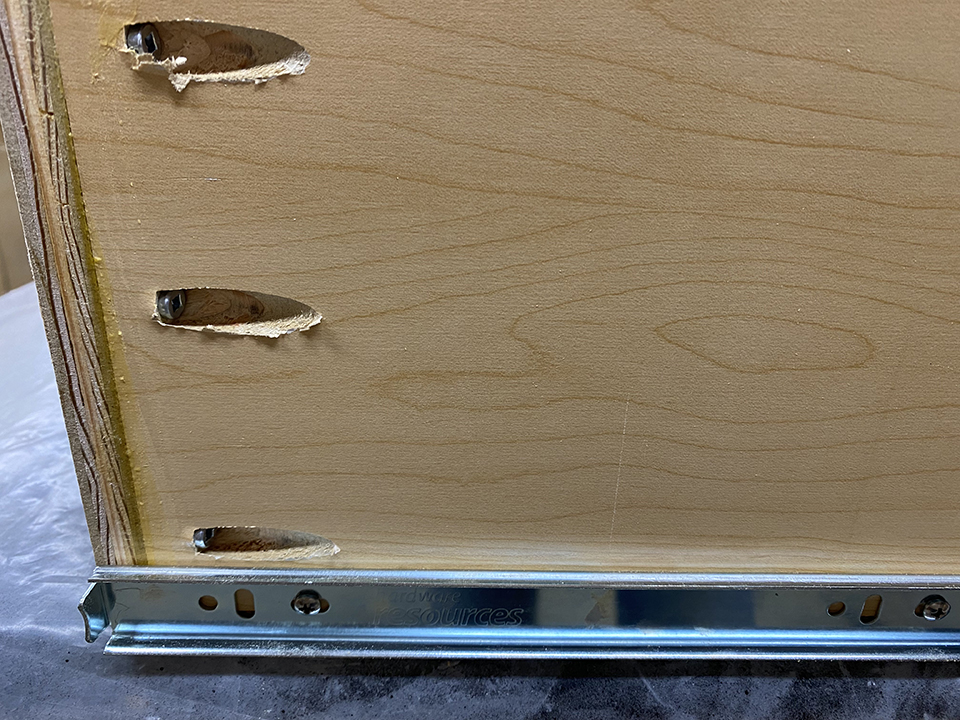
The drawer guides were simple economy quality. If I had to do it again, I would spend the money for heavy duty, soft close, and full extension drawer guides. Next time! Here you see a drawer member being installed.
If I would have just raised that trim up there on the bottom to make that fence trim more fluid it would look so much nicer. Well, it’s in the plans so yours will look nicer than mine.
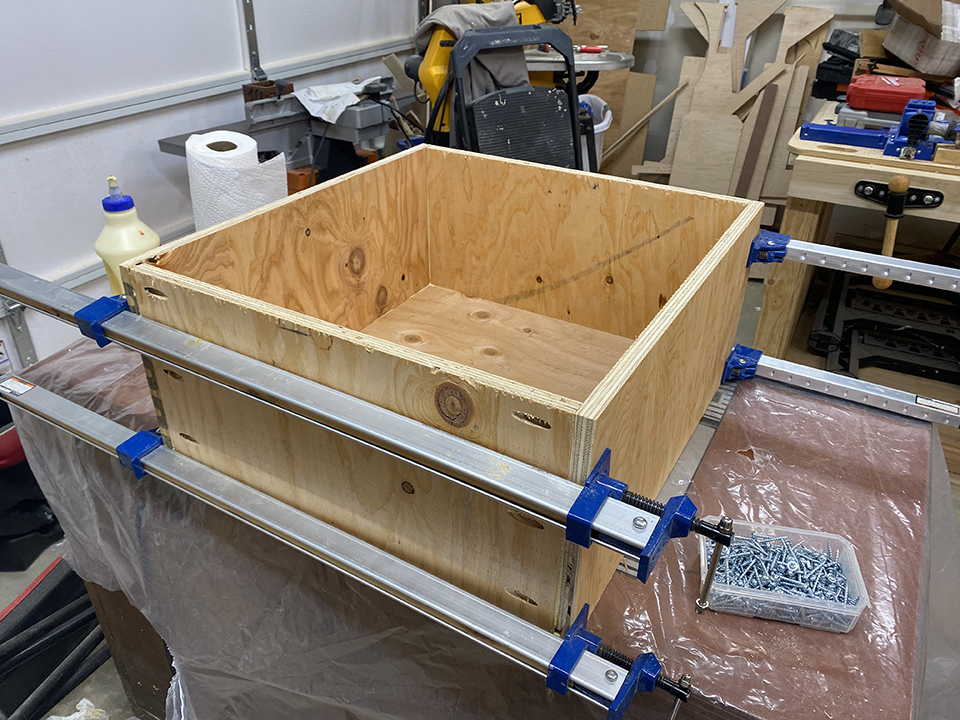
On to the lower carcass assembly drawers. These are some huge drawers!
Drawer face and trim.
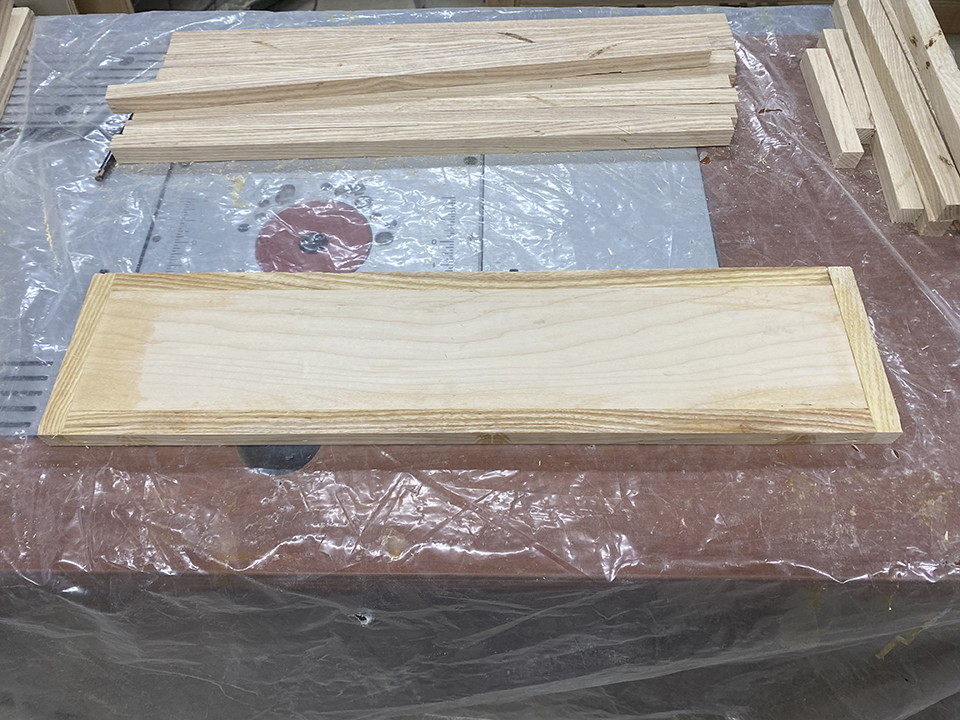
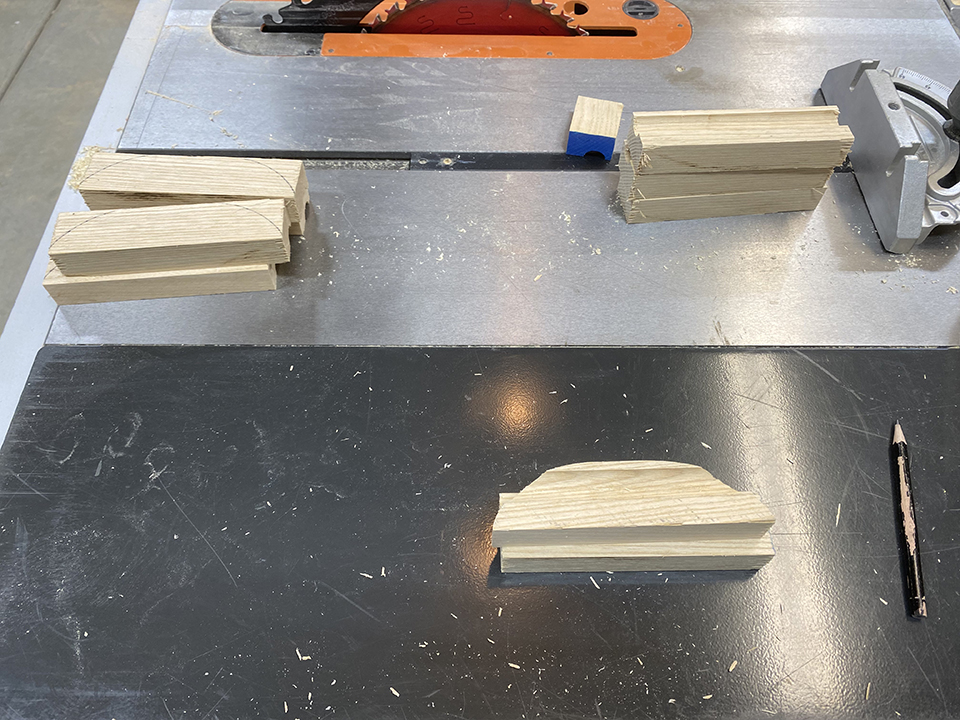
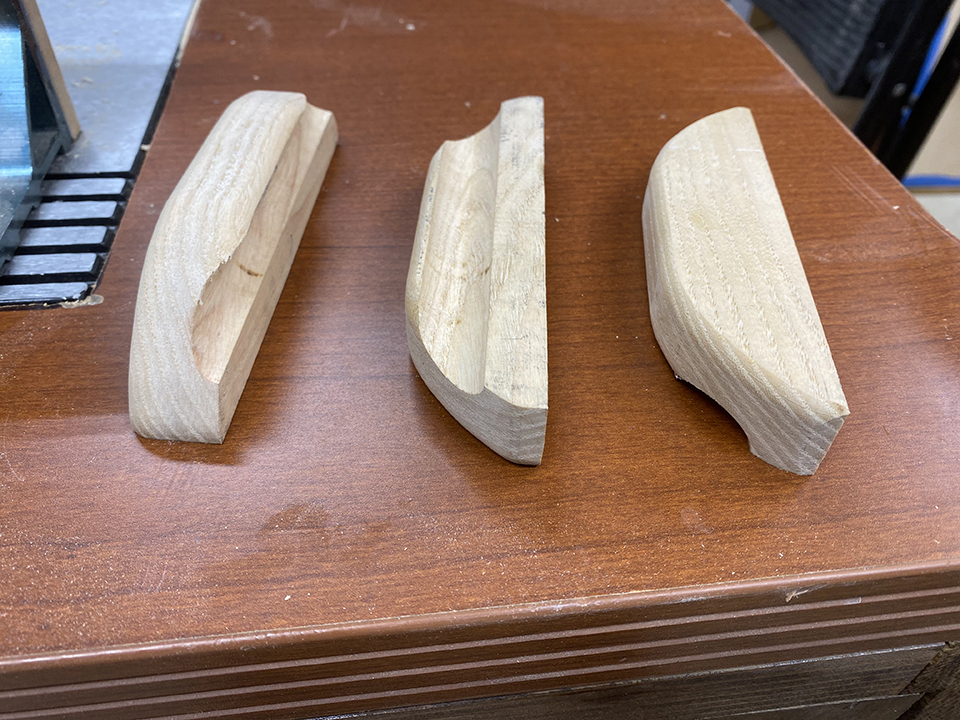
Didn’t want to be weird and go by drawer pulls, so I made them out of hard maple. Man they are beautiful! I stained them Dark Walnut with poly.
Then I installed them to see what they looked like. I will stain them later.


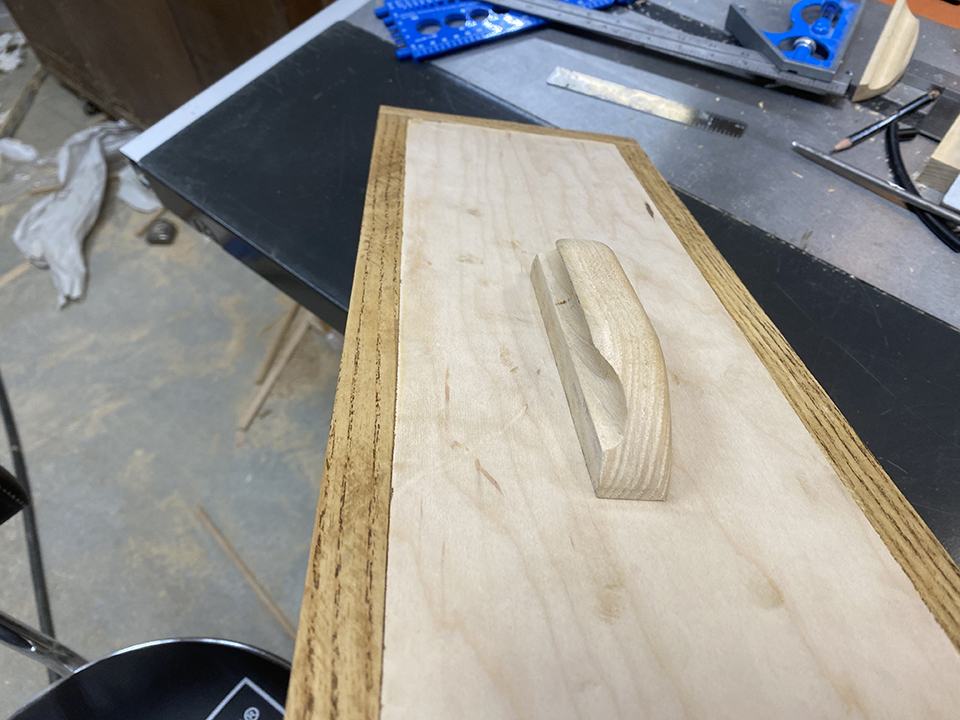
Notice that profile and the finger slot? They feel really good when pulling the drawers too. The directions for making the pulls are included with the Ultimate Miter Station plans. Check them out!
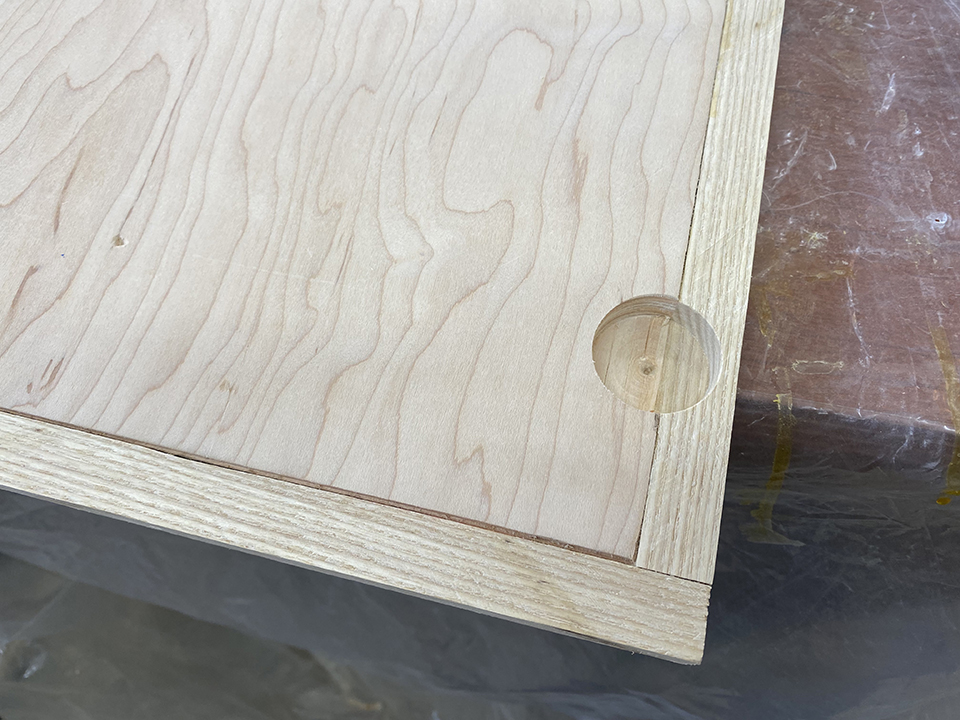
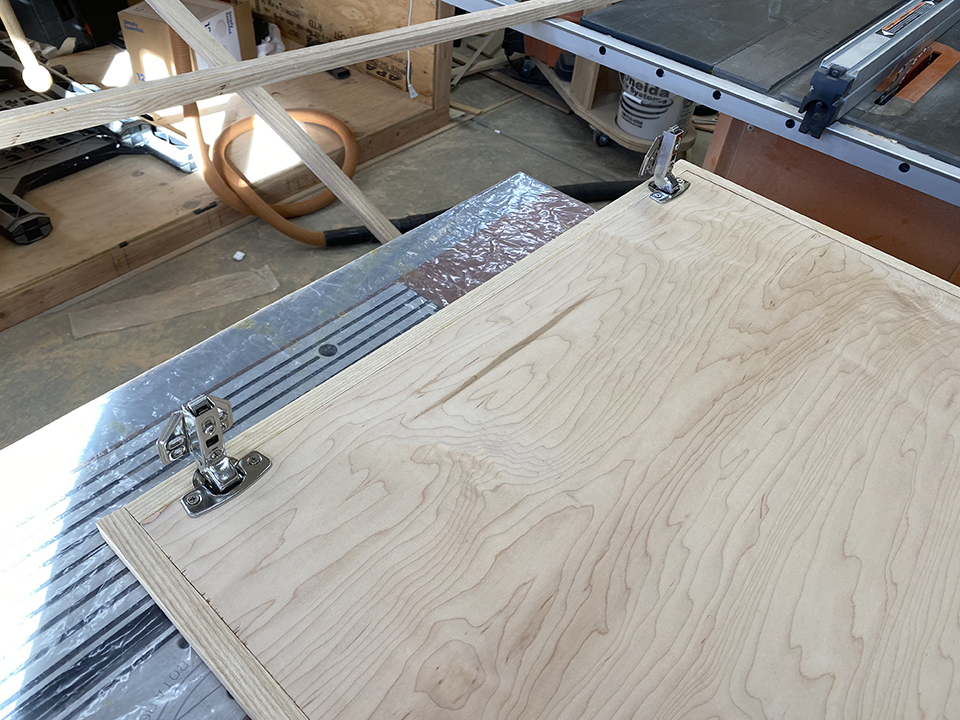
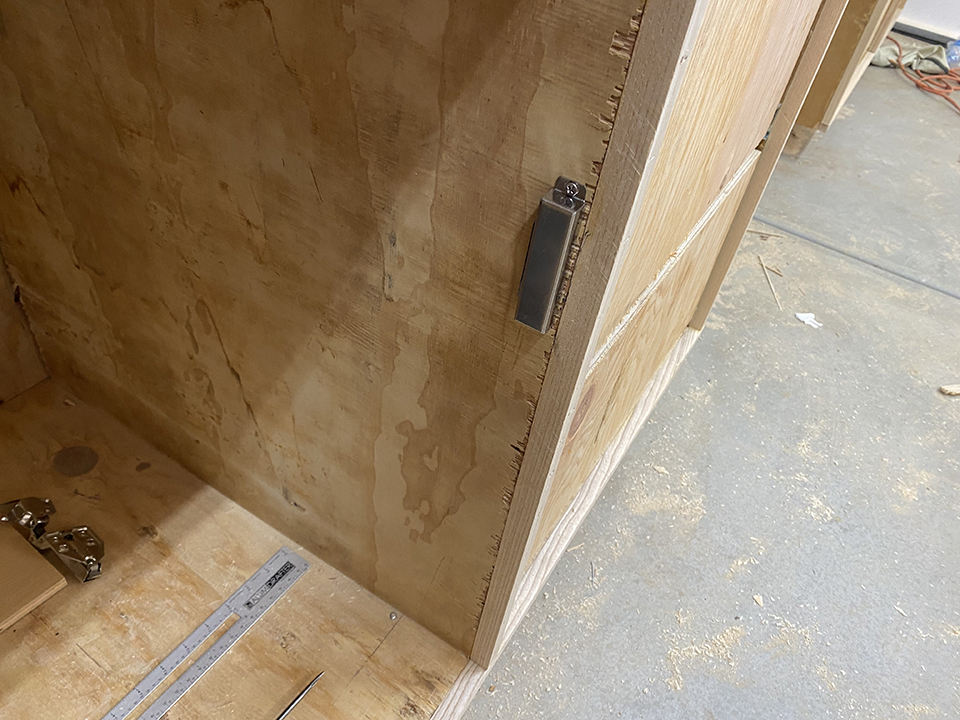
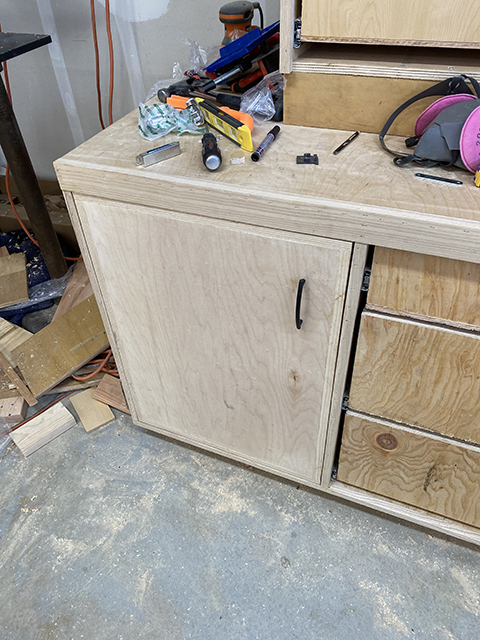
On to making the cabinet doors. These things are heavy! I’m not sure what else I could have done to make them lighter. MDF is heavier and 1/2″ just seems boyish as a cabinet door. But they came out good and I bought some semi heavy duty economy hinges that soft close!
I had a conundrum trying to figure out how to stop the door at the right spot. I also didn’t want the cabinet flying open due to my foul craftsmanship, so I bought these cabinet magnets that acted as a stop. They were so strong that I had to turn them around and use the back side.
They still are pretty strong!
And what do you know the cabinet doors installed like a breeze. Yah right! It took forever trying to get that perfect 1/8″ reveal around all the sides. But it’s worth it! That handle was just so I could open the cabinet temporarily.
After filling all the brad holes, I got the stain out and touched up the trim. The two tone really looks nice.
My Harbor Freight nail gun was making these deep gouges and cramped my style!
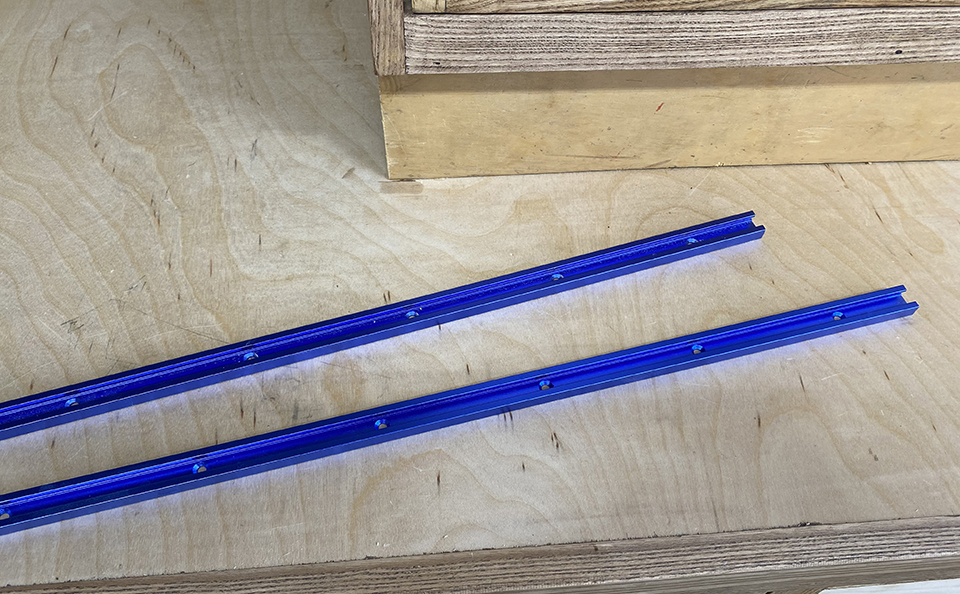
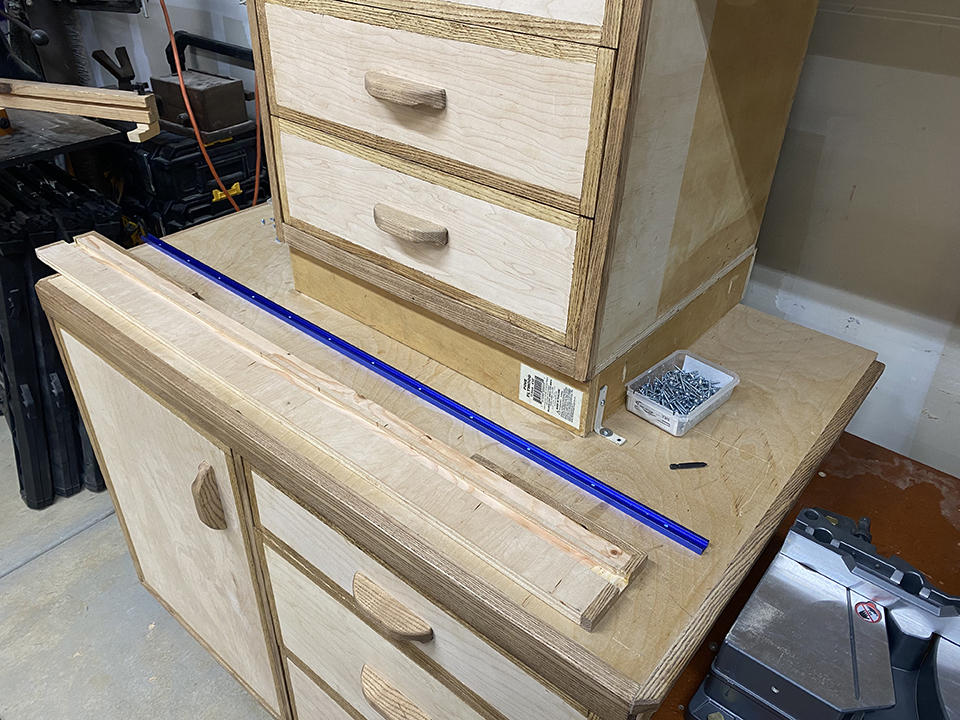
Yes, I know I need to paint my garage walls! I wanted to start working on the Fence assembly and finally came to my senses. So I got my camera and mic out and made an episode. I think it went pretty well. However the views are not that great. The things we deal with small channels. This T-Track was from ZokMok. They do a good job making other things like T-Track clamps and router bits too.
Here you see it already routed, stained and ready for installation.
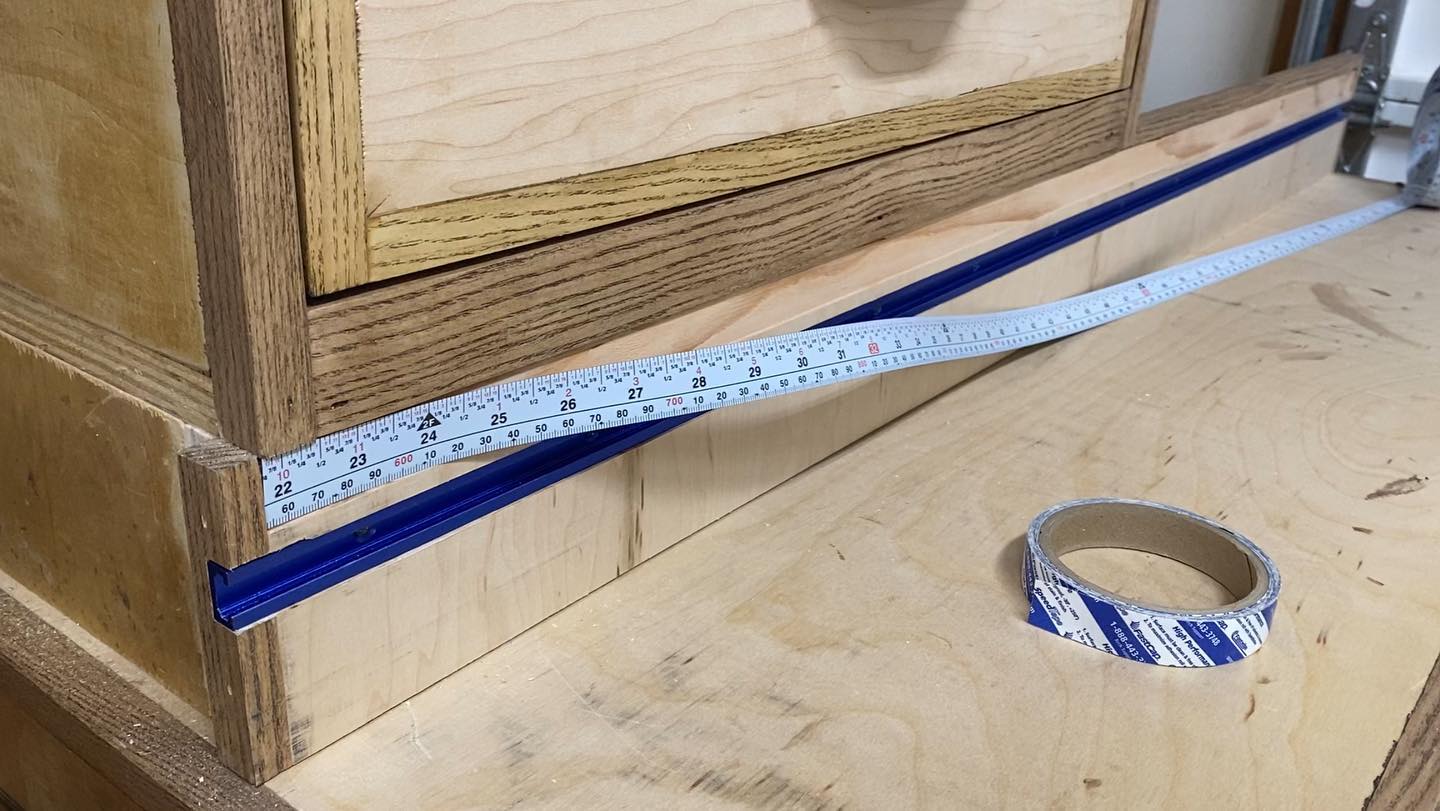
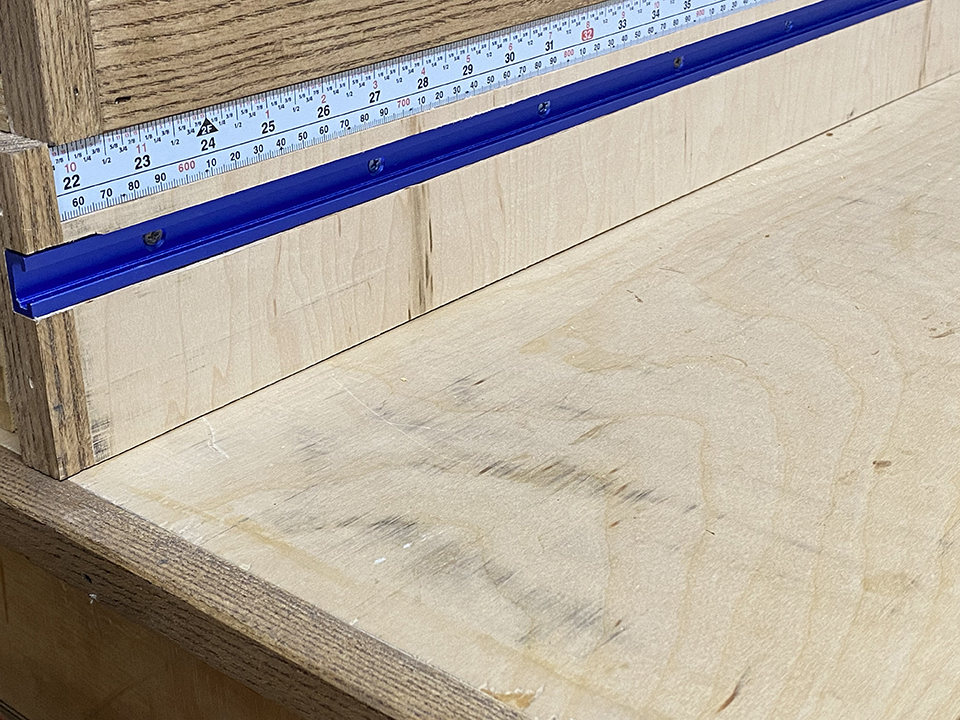
Here I’m installing the FastCap Tape Kit.
It came out good, but I’ve since redesigned it. The new design is way better. The trim at the top has no edge grain on the side piece now. Here you see it mostly done. I didn’t have enough plywood for the backing pieces. I still want to get that dust under control. One day!
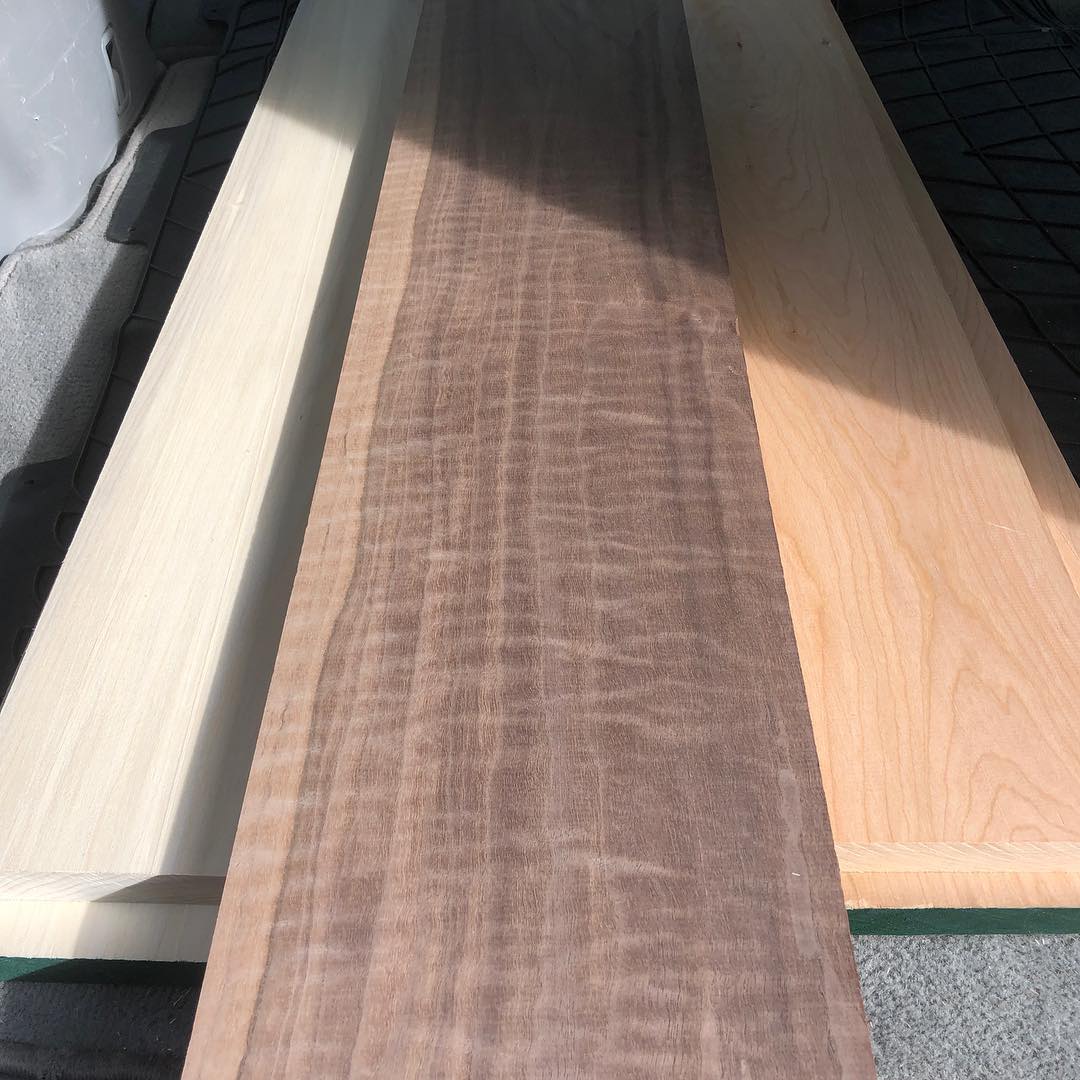
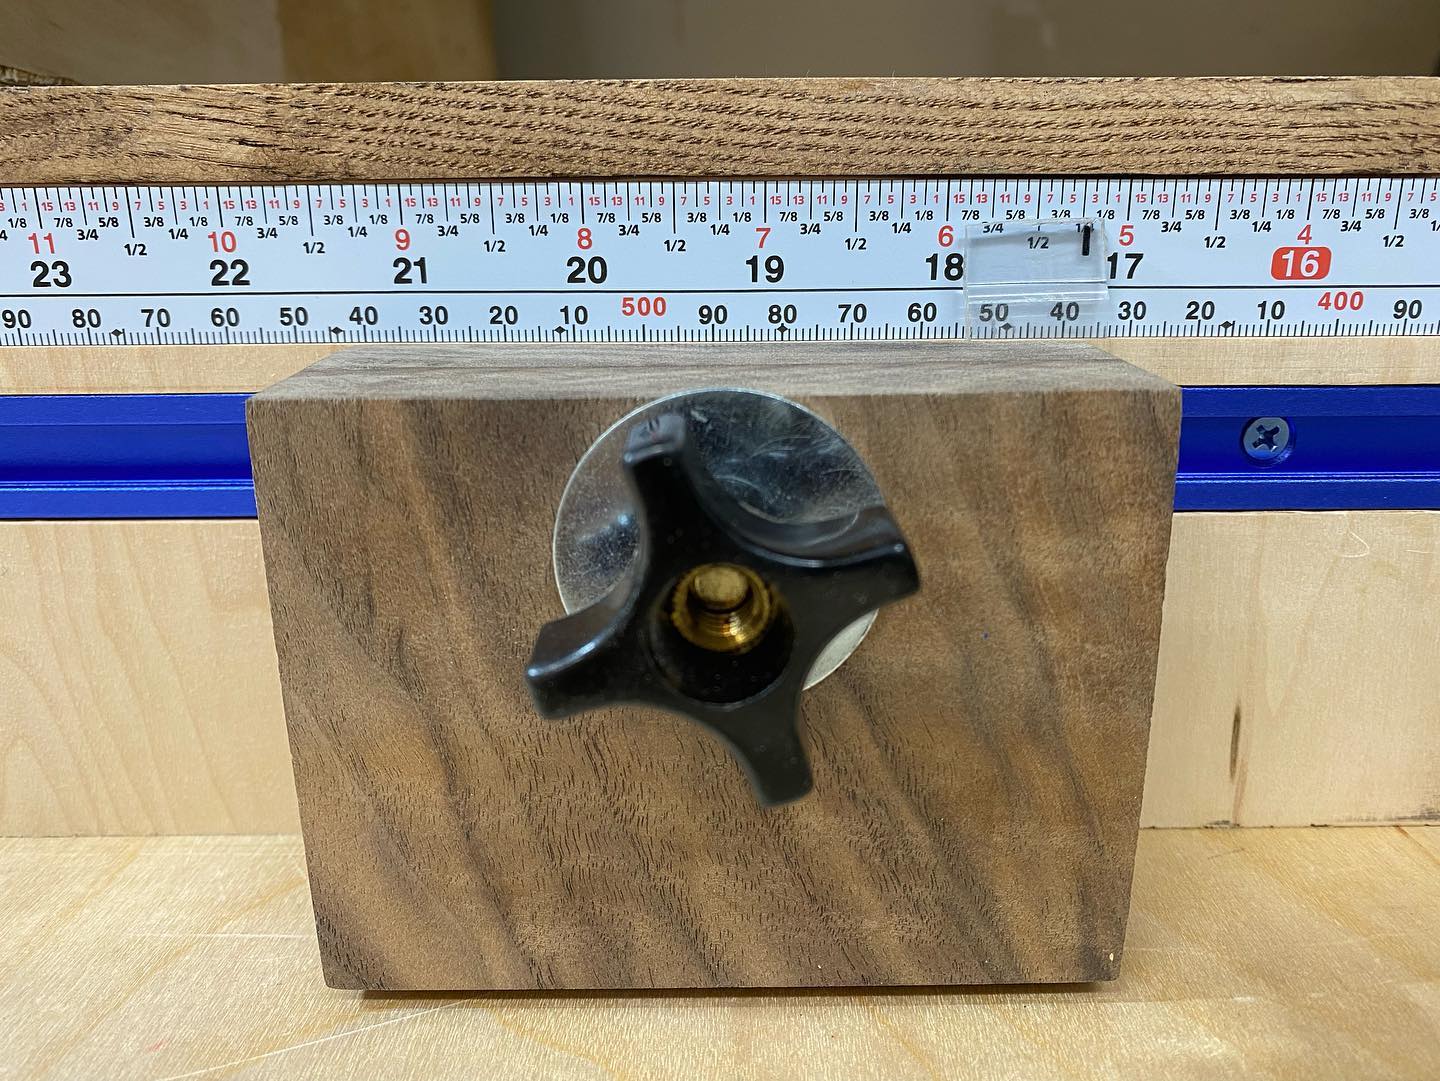
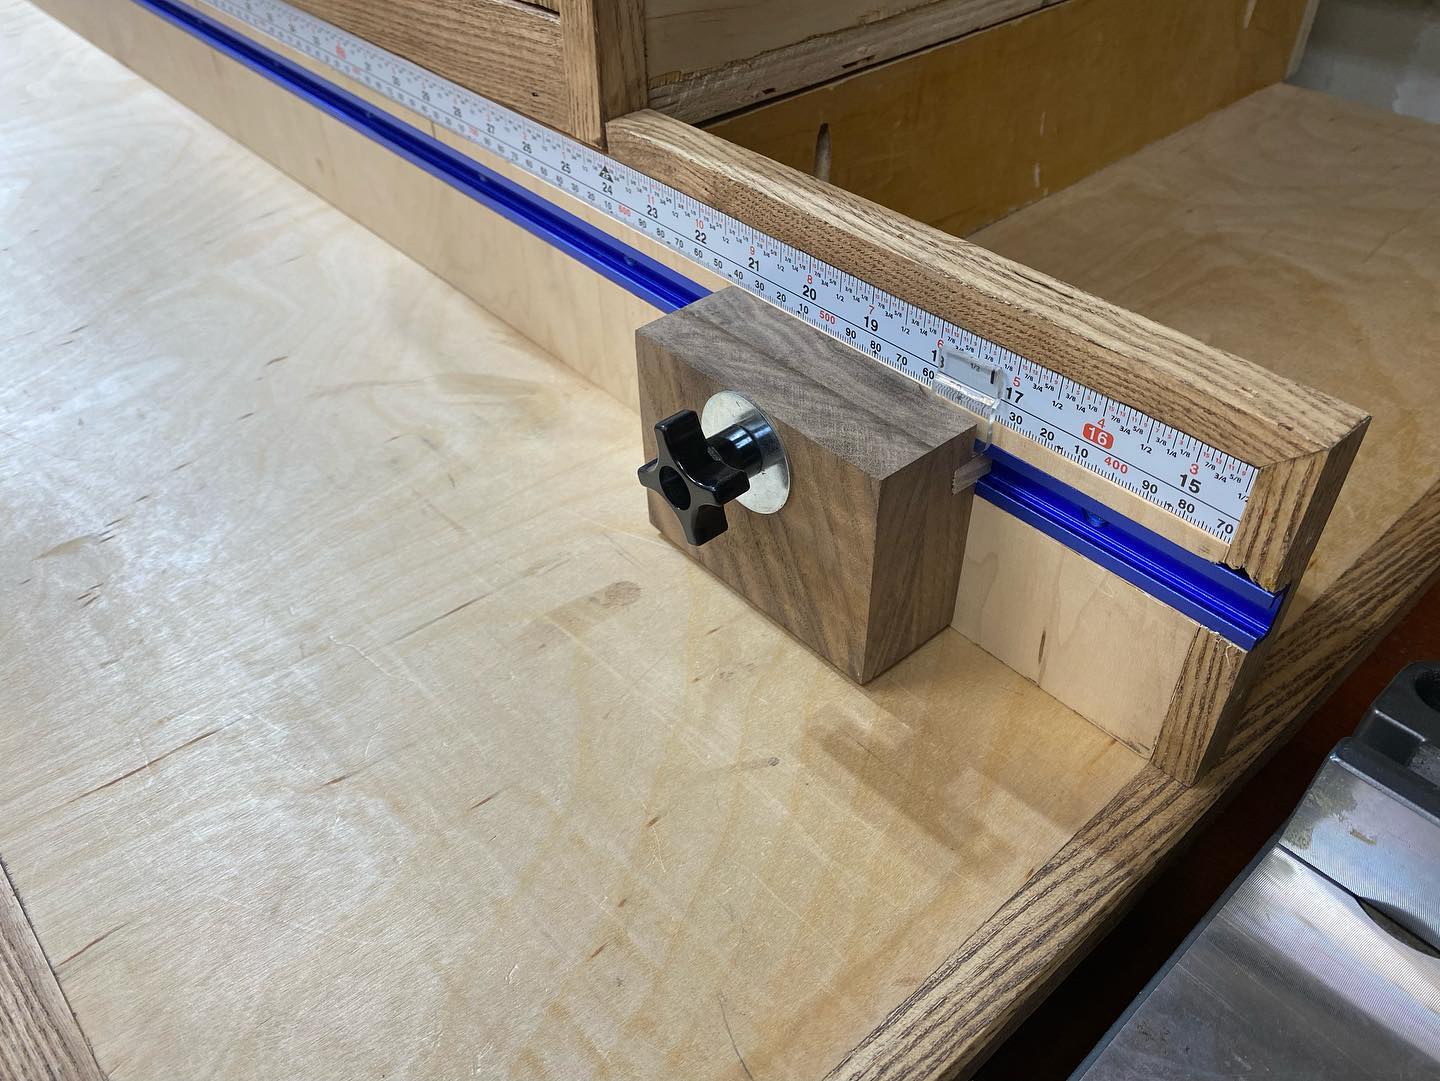
One last thing to do, and that’s the stop blocks. I chose to use real Walnut to make these. This Walnut was beautiful and had somewhat of a Tiger stripe pattern going on. I originally purchased the Walnut to have on hand and to make our 17th Anniversary candle box for my wife. Here is that episode.
I can’t tell you enough how happy I am that I made the miter station. I truly did not know what I was missing. So much storage and so much organization. It will become a staple in your shop. Also a talking piece. It will 1up your reputation for sure when people see it in person. Take my word for it. If you’re a serious woodworker, you will have one of these things. Click the link below to buy the plans.

Check out the YouTube episode below of me installing the fence system.
YouTube Episode – Fence System
Materials Used: (Affiliate Links)
- Titebond II Wood Glue
- Ash Hardwood
- Pine 2x4s
- ZoKMok T-Track
- Porter Cable 1½” Brads
- 3/4″ Plywood
3/8″ Plywood - 1/2″ plywood
- LONTAN 6 Pairs 18 Inch Soft Close Drawer Slides
- TCH Hardware 28″ Inch 100 LB Steel Full Extension Ball Bearing Drawer Slides
- KingKu Soft Slow Close Hinge
- Kreg 1 ¼” Pocket Screws
- Kreg 1″ Pocket Screws
- 2½” Construction Screws
- #6 x 5/8 Pan Head Sheet Metal Screws
- FastCap Self-Adhesive 16′ Measuring Tape
- WOOCH Door Magnetic Catch
- ScotchBlue Original Multi-Surface Painter’s Tape
- Minwax Stainable Wood Filler
- Varathane Dark Walnut Stain
Tools Used: (Affiliate Links)
- Empire Combination Square
- Empire 48″ Bubble Straight
- Bosch RA1181 Router Table
- Bosch 5″ RO20VSC Random Orbit Sander
- Atlas Drill Press (1940’s)
- Dewalt 788 Scroll Saw
- Duragrit 9″ Carbide Flat Sanderl
- Duragrit Carbide Square File
- FastCap Left/Right Tape Measure
- Ridgid R4221 Miter Saw
- Ridgid R4512 Table Saw
- Ridgid Limited Edition 18V Gen5X Combo Kit
- Ridgid Belt Sander
- Rockler Forstner Bits
- Rockwell 13″ Band Saw
- Rockler Glue Kit
- Irwin Quick-Grip Clamp Kit
- Bessey BGPKIT General Kit
- Bessey Corner Clamps
- Dremel 4300-9/64 Rotary Tool Kit
- PEC Solid Squares Set
- FastCap PSSR25 Lefty/Righty Tape Measure
- Porter Cable 16 Guage Nailer
- Kreg K5 Pocket Jig
- Husky 16 Gallon Air Compressor
- Phillips Screwdriver
- Flat Head Screwdriver
- Acrylic Pen
- #2 Pencil